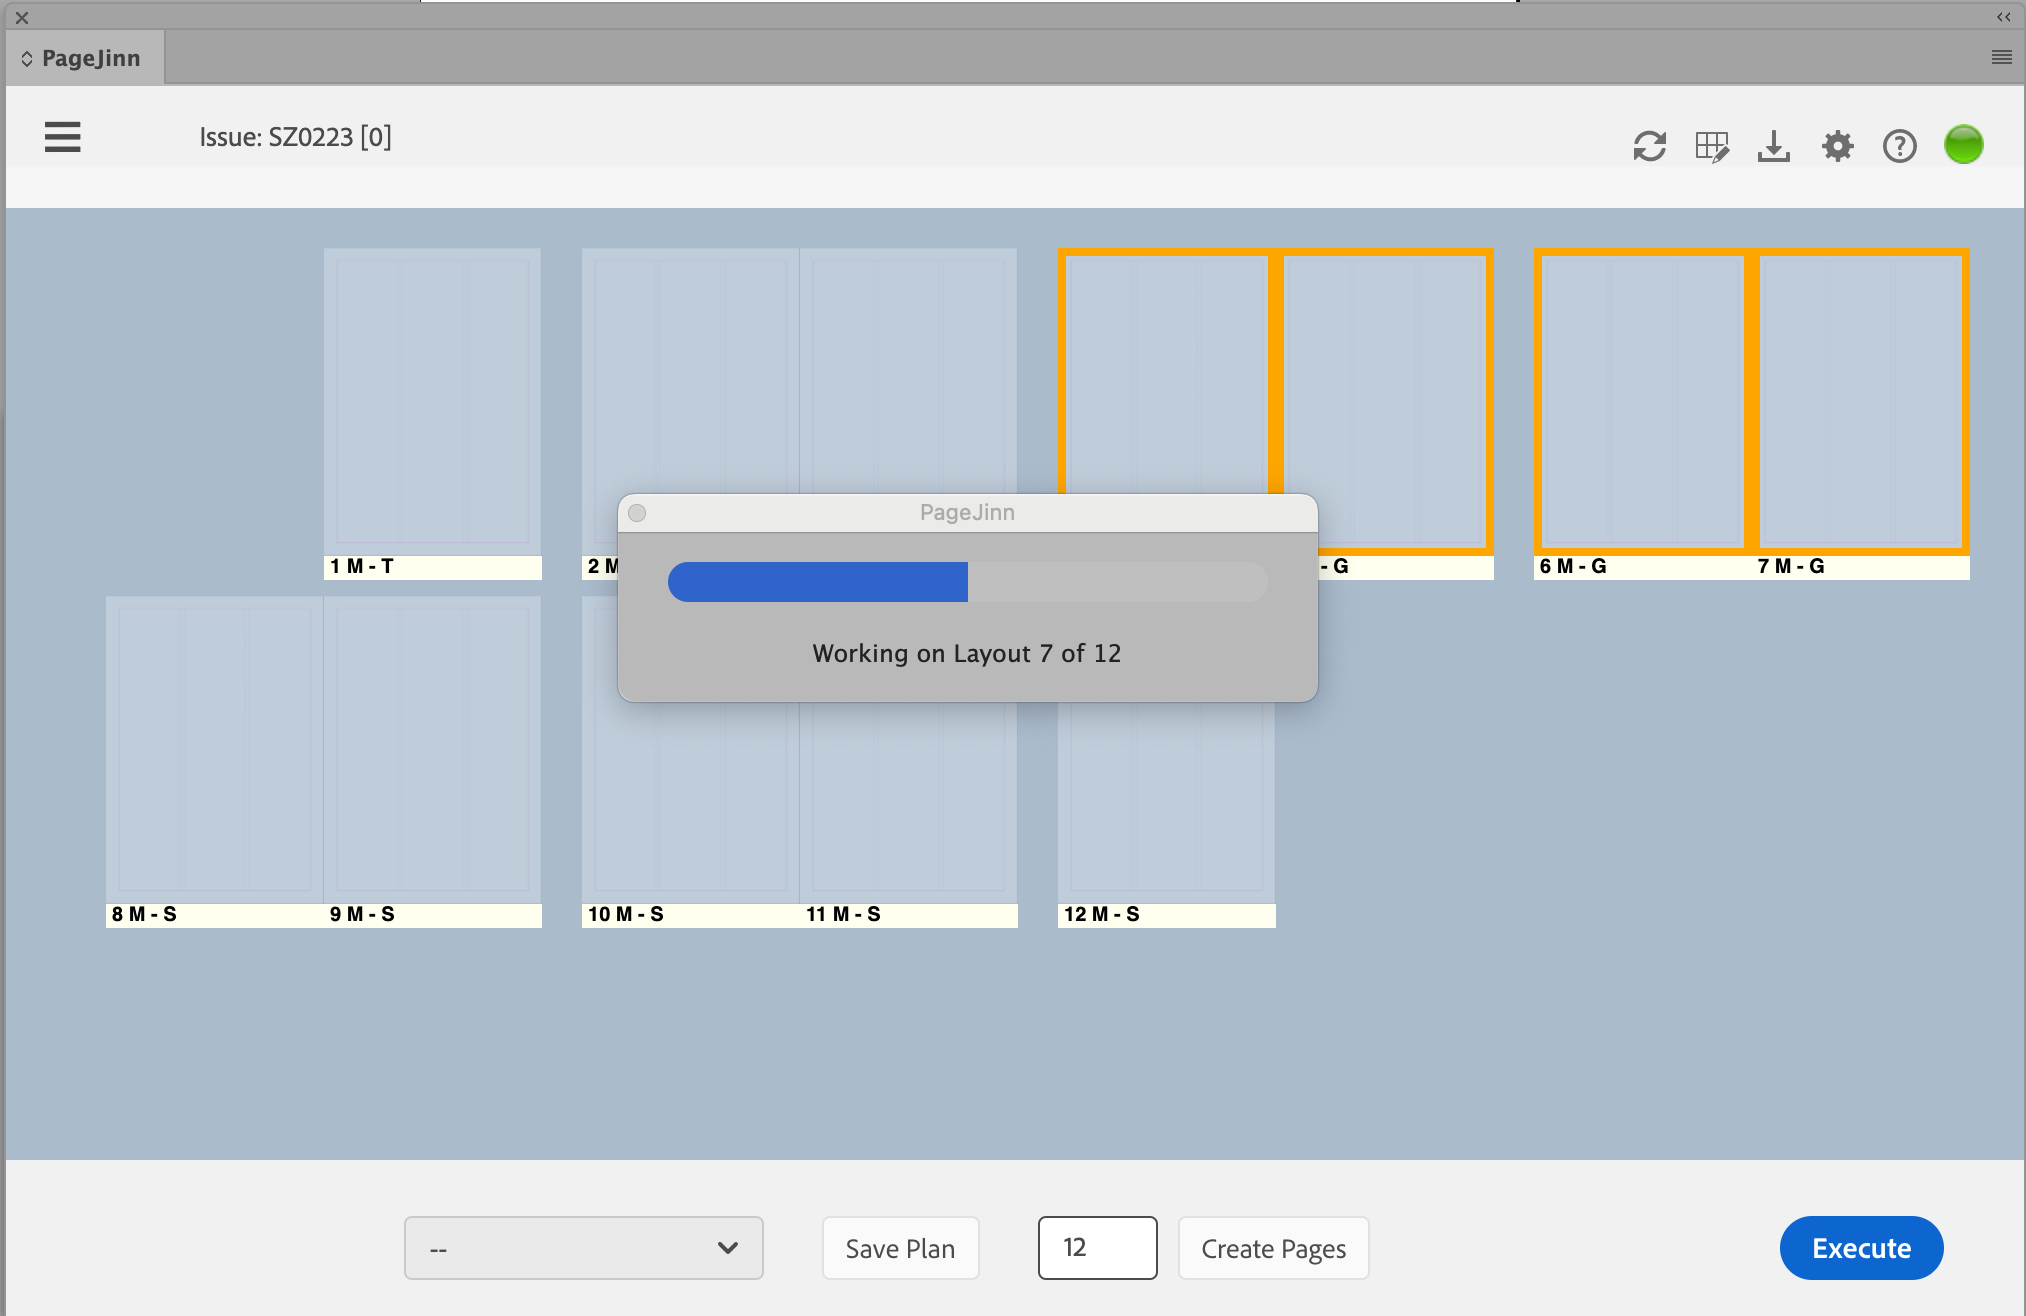
New Issue
Planning the Issue
Planning and creating a new issue is the core function of PageJinn.
Note
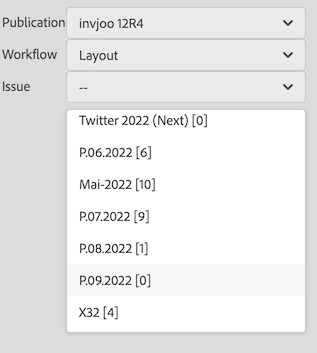
PageJinn creates documents within a K4 issue. The creation of the K4 issue must be done in the admin of K4.Select an empty issue under Metadata (there is a 0 indicating the number of pages in the square brackets).
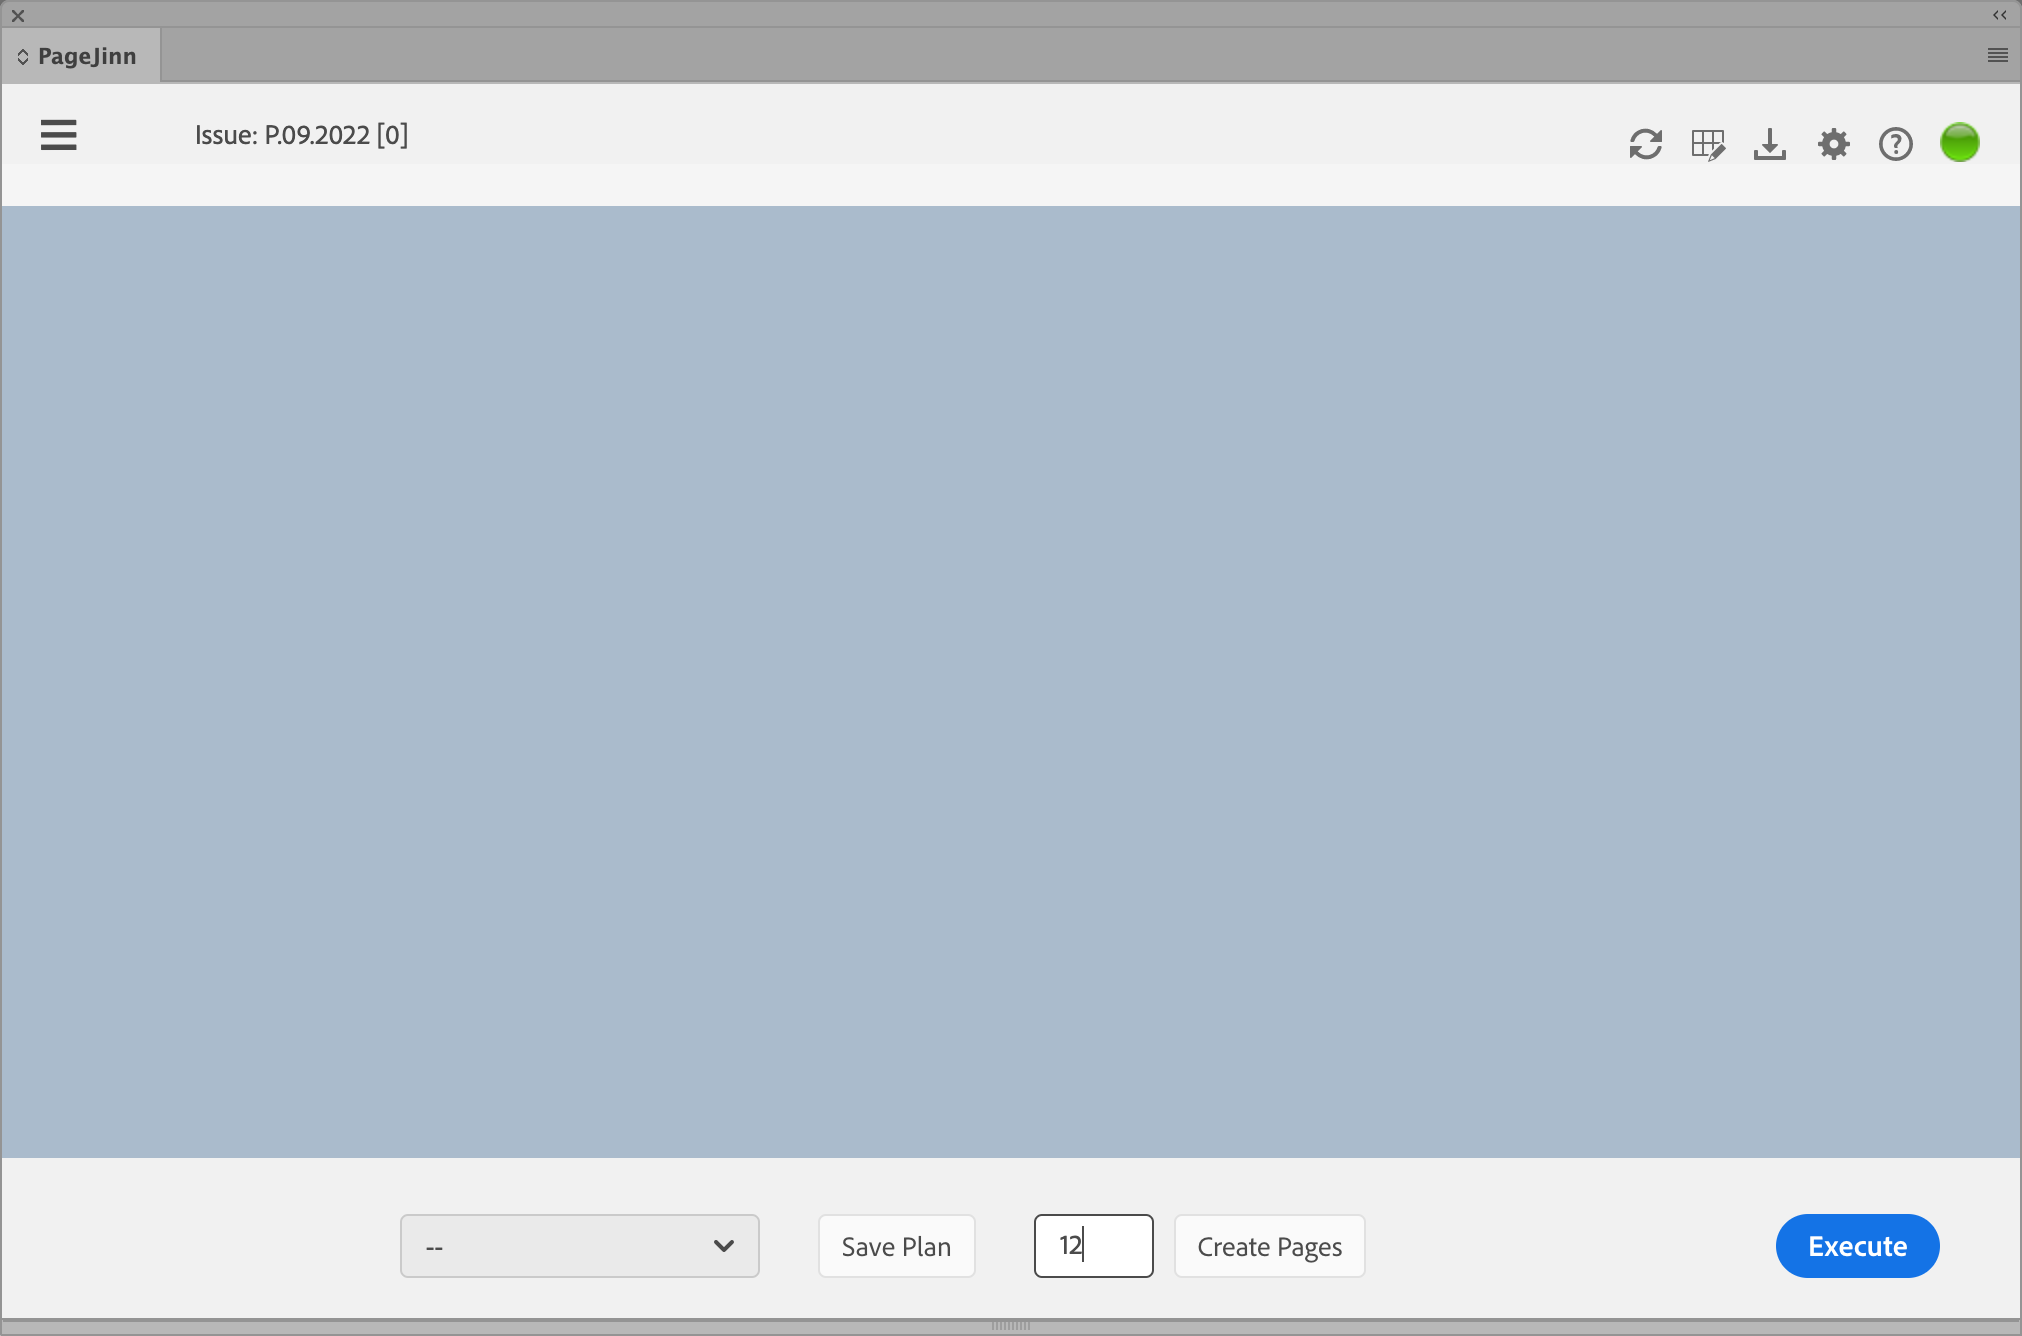
Specify how many pages the issue should contain and click on Create Pages.
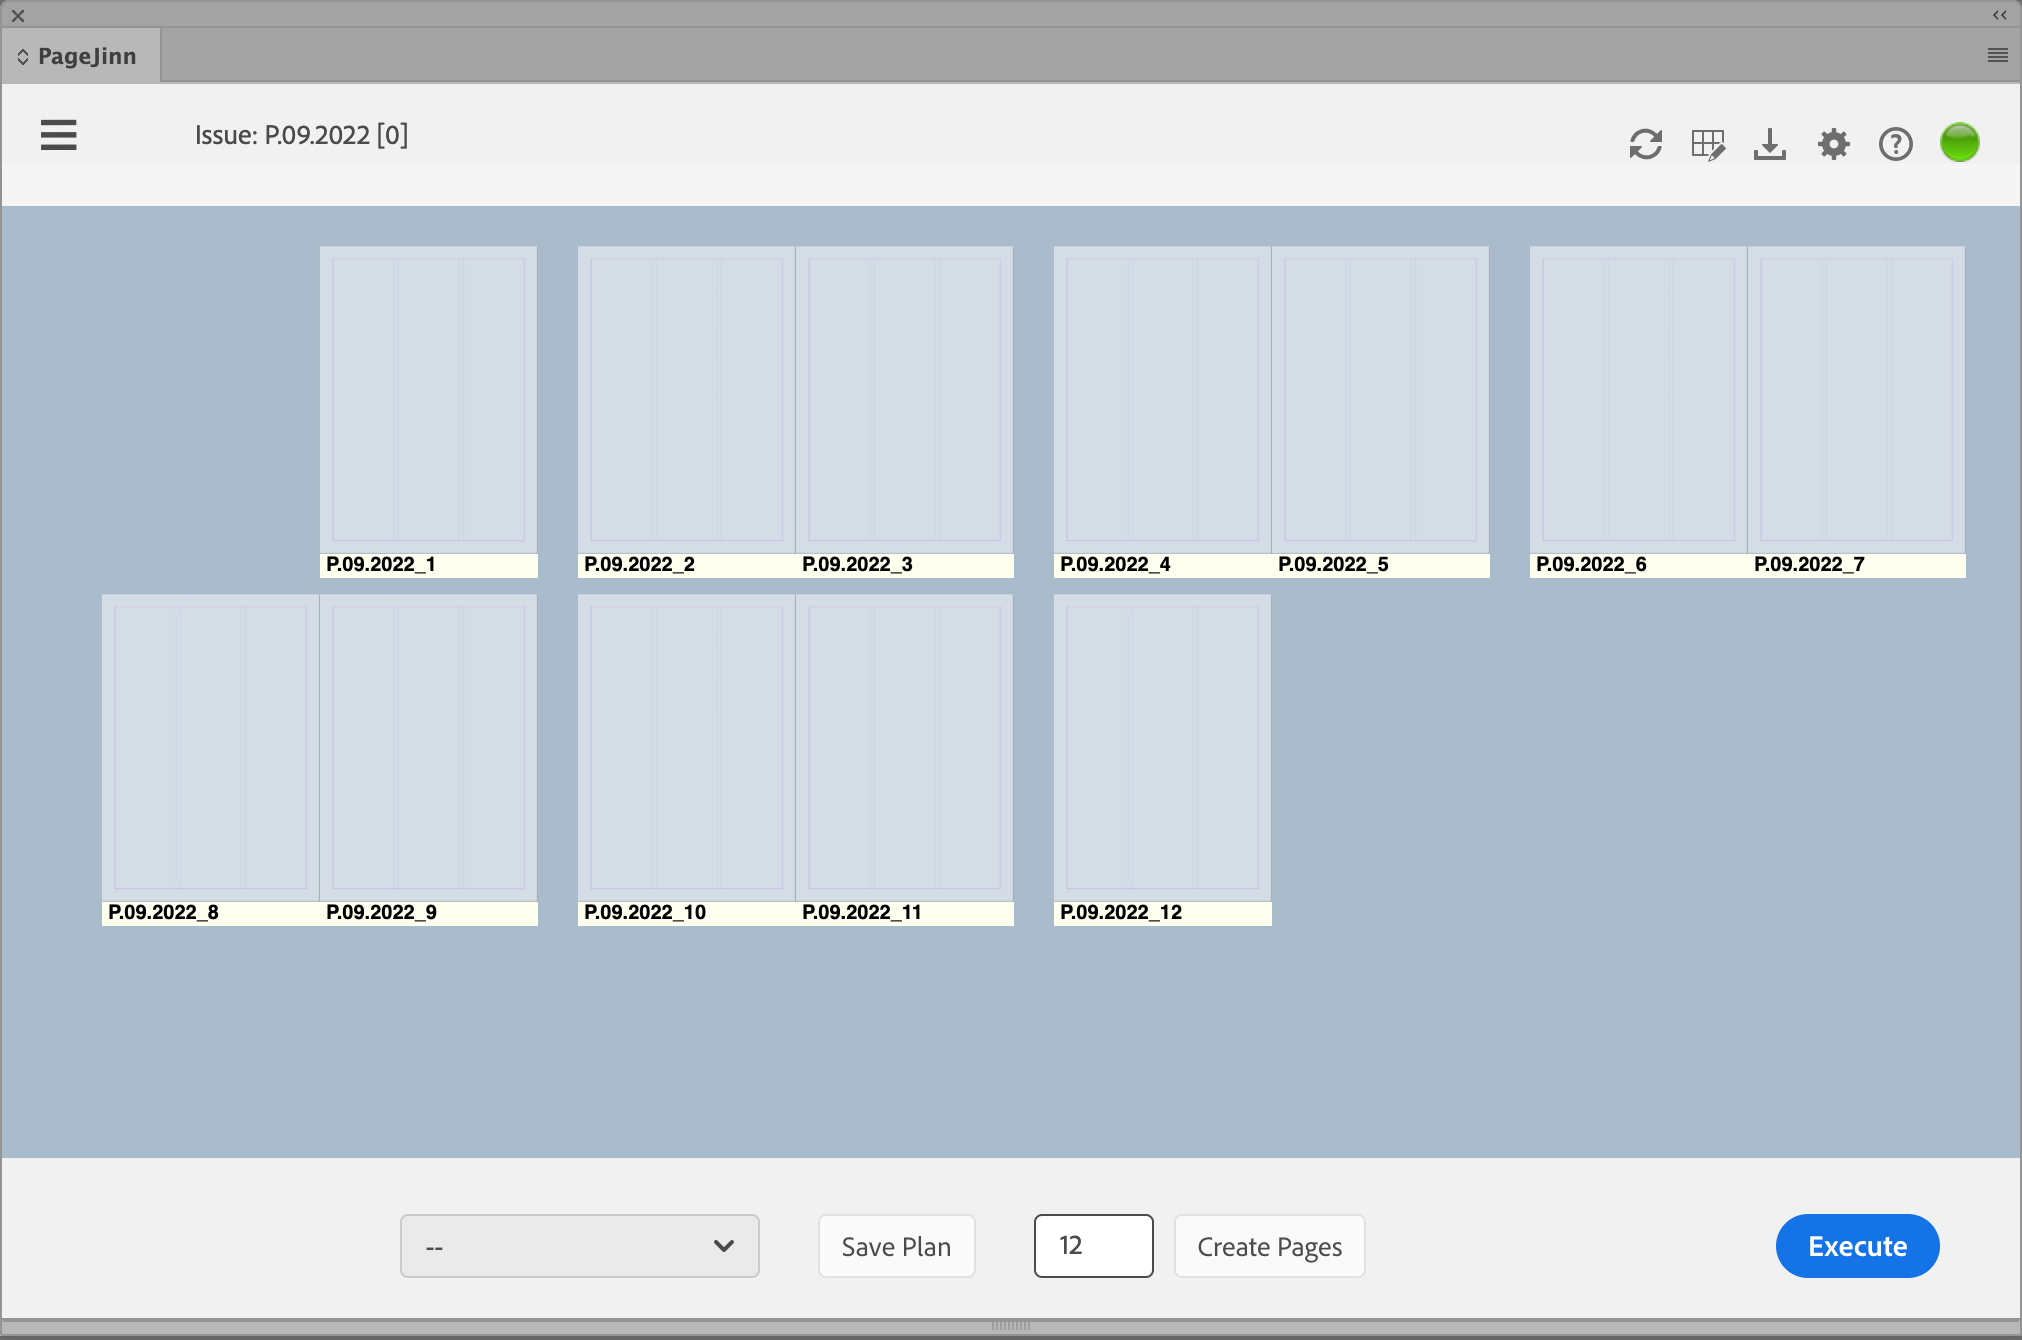
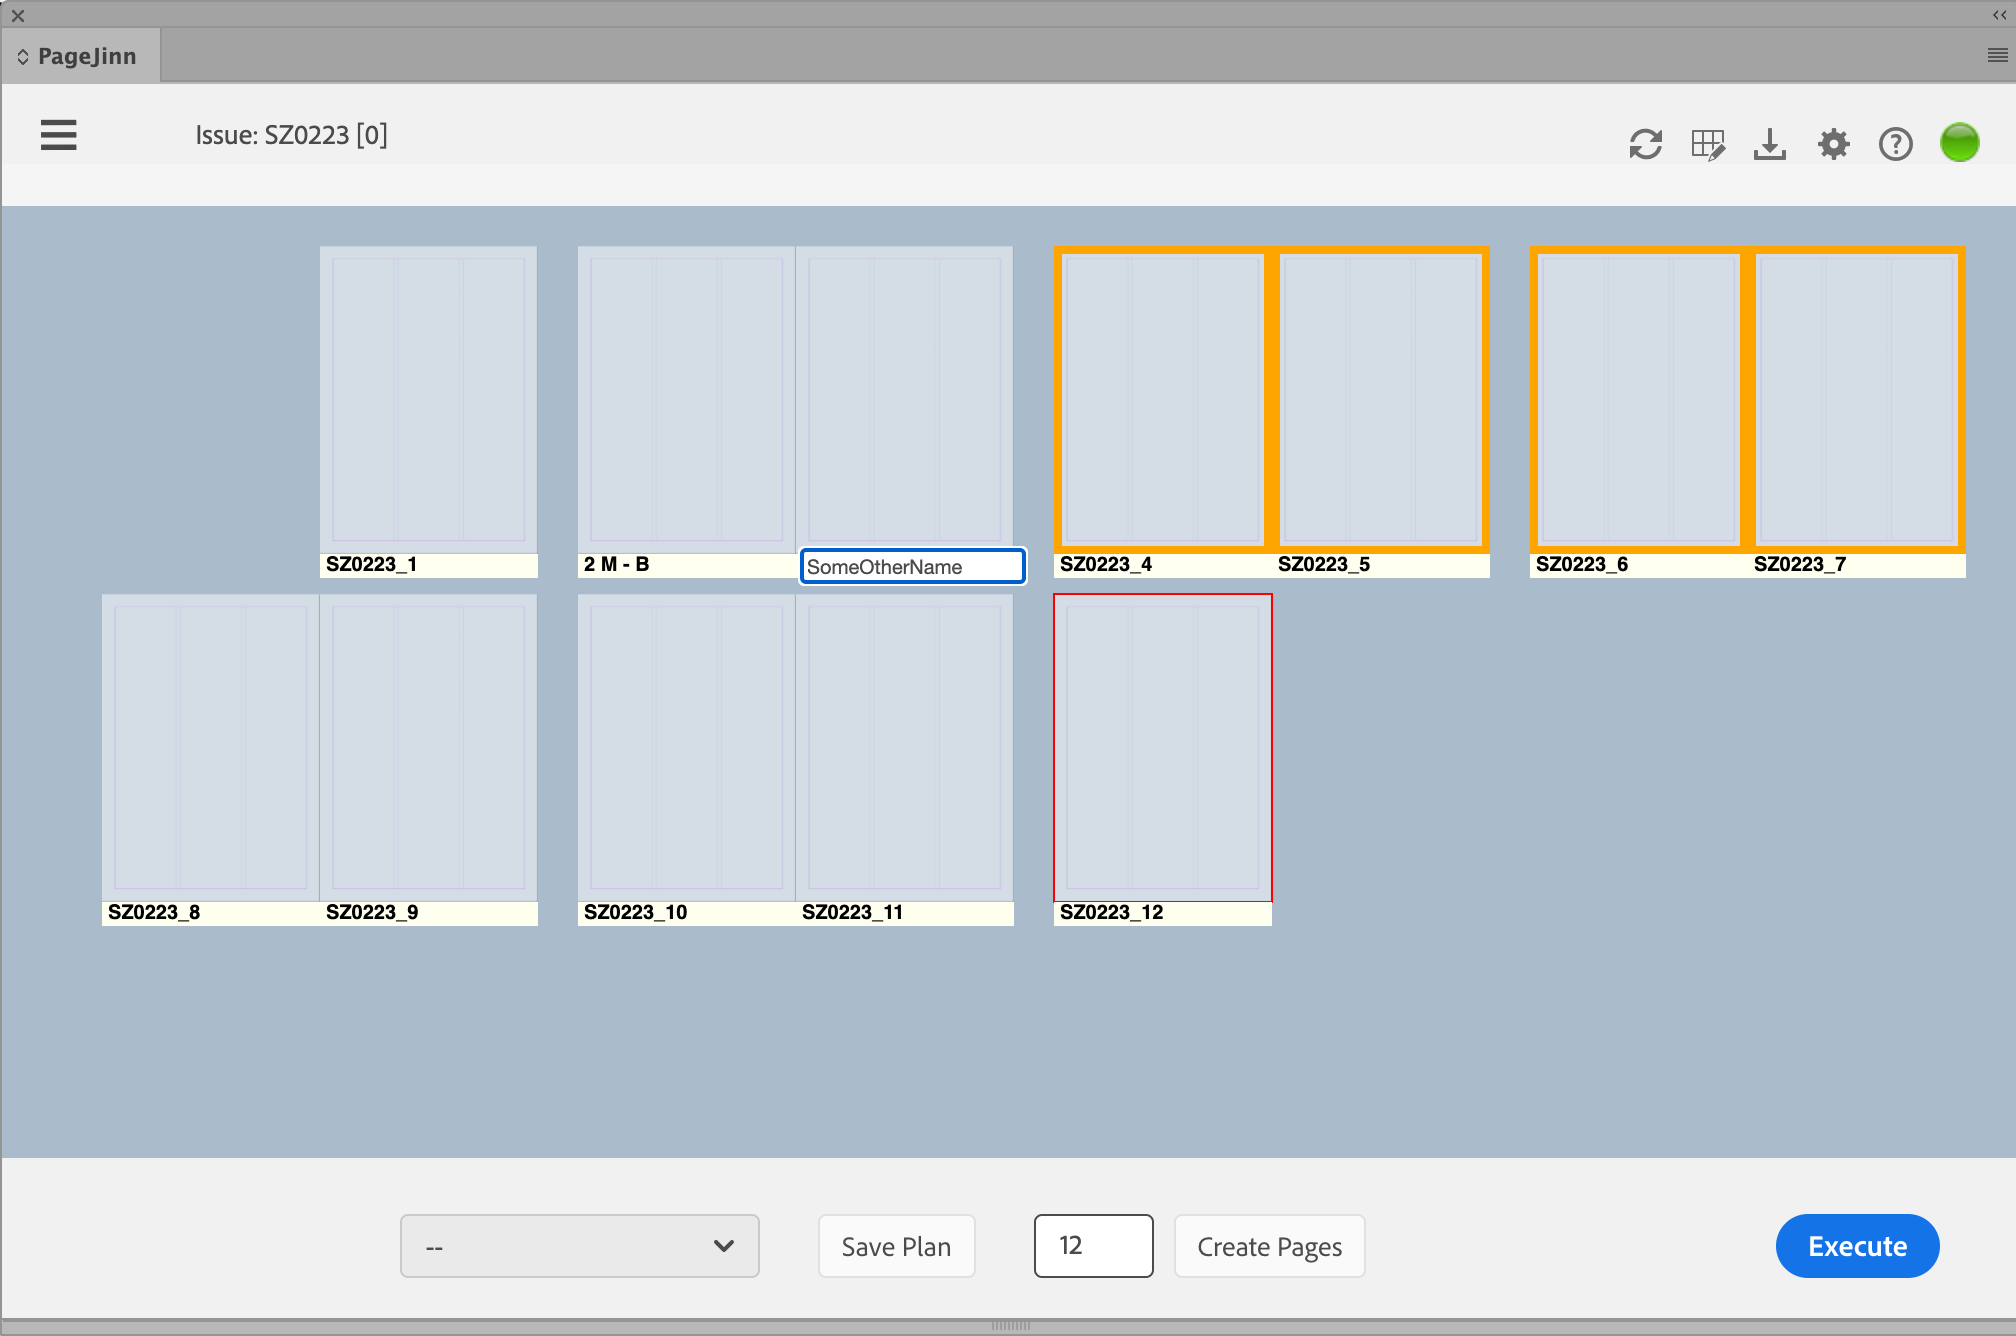
PageJinn creates the pages. Each page is given a generic name consisting of the name of the issue and a continuous page number.
Now select a master page for each page or a selected page range from the context menu. You can select a page range, as usual, by clicking on it with the Shift or Command key pressed. Selected pages are displayed with a blue frame.
Note
Only contiguous pages can form a page range.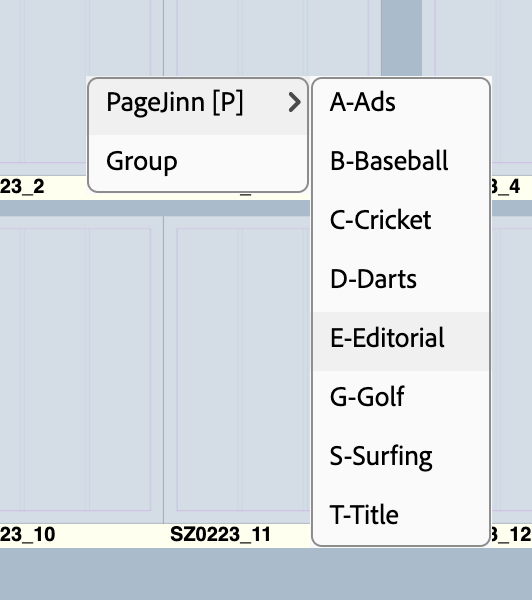
To define a page range that will become one document, choose Group in the context menu (alternatively g Key).
Grouped pages get a colored frame (can be shown and hidden with l key). The status bar shows the page number and the abbreviation for the selected master page.

You can assign your own name to individual pages or page ranges. Switch to the name view with n key and move the mouse over the name. Now enter your own name for the page or page range.
Saving the Plan
To shorten the steps of planning, it is possible to save the plan as it exists now, that is before executing it. Click on Save plan.
Enter a name for your plan in the dialog. This plan will be available in the selection menu during the next planning. Instead of planning new pages, you then call up the plan and modify the assigned master pages if necessary.
Note
Do not change the disk space, because PageJinn reads the template plans stored here at startup.Creating the Issue
Click on Execute to start the process of generating the issue.
