This documentation contains screenshots showing PageJinn under MacOs.
This is the multi-page printable view of this section. Click here to print.
Documentation
- 1: Overview
- 2: Installation
- 2.1: Directories
- 3: Configuration
- 3.1: Configure PageJinn
- 3.2: Template file
- 3.3: Configuration File
- 4: Basics
- 4.1: Interface
- 4.2: Functions
- 4.3: Planning
- 4.3.1: New Issue
- 4.3.2: Insert Pages
- 4.3.3: Swap Pages
- 4.3.4: Moving Pages
- 4.3.5: Delete Pages
- 5: FAQ
1 - Overview
What is PageJinn?
PageJinn is an Adobe CEP panel that lets you plan and create pages and page ranges in InDesign.
CEP stands for Common Extensibility Platform. With it, Adobe provides a technology that third-party developers can use to create native panels. For you, this means you can use full page planning without leaving InDesign. The panel communicates directly with the host, which means you plan the pages and InDesign creates the new pages directly on your computer.
Double-click to open pages or page ranges, and the layout artist (or editor) works on the document as usual. When the document is closed, the new page views are immediately displayed, since the creation of the pages takes place on the client. (There might be a delay if you are using InDesign server.) At the same time, of course, the pages are written to the K4 database so that they are available to all team members.
Function description
- Planning of any number of pages/page ranges directly in InDesign
- Assignment of InDesign master pages
- Loading of stored issue plans
- Creation of pages directly in the client (no InDesign server necessary)
- Moving, swapping, inserting and deleting pages and page sections
- Automatic repagination of all pages
- Double-page view mode
Integration with vjoon K4
- reading K4 issues via the K4 API
- Automatic check-in of generated pages
- Double-click checkout of K4 document directly from PageJinn
- No vjoon K4 object rules module required
- Change K4 status of documents via context menu (except in Advanced Workflow mode)
Restrictions
-
Is PageJinn suitable for you? When adding, moving and deleting pages, all documents are checked out and processed. The prerequisite for this to work is that all documents are checked in. If you have a large number of people working on documents at the same time, it may be more advantageous for you to work with a pagination system that does not make the changes directly, but via the object rules, (which then also means that the changes are only realized when the object rules are applied to the individual clients).
-
Only InDesign layouts are edited with PageJinn. It does not create articles or ads.
-
What is PageJinn not suitable for?: PageJinn works directly with the k4 editorial system from vjoon. All data is read from and written to the K4 database. We are working on a version where optionally the data is kept locally and/or in a separate PageJinn database.
2 - Installation
Contact us to get the installation program.
PageJinn is installed in an extensions directory like any Adobe CEP extension. The installer installs PageJinn in the computer’s library by default:
/Library/Application\ Support/Adobe/CEP/Extensions/com.liedzeit.PAJ
Attention
Never change the files in this directory.Restart InDesign. In the Window menu of InDesign there is now a new entry PageJinn.
Tip
Create a keyboard shortcut in InDesign for this menu command.Konfiguration: Now configure PageJinn.
2.1 - Directories
The actual PageJinn software is installed by the installer here:
/Users/[username]/Library/Application\ Support/Adobe/CEP/Extensions/com.liedzeit.PAJ.
The log file (if logging is enabled) can be found here:
/Users/[username]/Documents/PageJinn/PageJinn.log
In addition, PageJinn creates a directory PageJinn with all folders and files necessary for production. This directory is created in PageJinn’s home directory (by default in the user’s documents folder).

Inside PageJinn/PAJ is PageJinn’s configuration file and a folder for each publication used. Inside the publication folder PageJinn creates three subfolders, Master, Pics and Templates.
Master
The master directory contains an InDesign template file (.indt) and a json file templates.json that describes the structure of the template file.
Note
If not already present, create an InDesign template file in K4. (See template file)If no .indt file exists, PageJinn tries to find a file named “PageJinn” in the publication’s template issue and copy it locally. The template.json file is created from this file. When creating the issue, PageJinn uses the Local .indt file (for performance reasons). The .json file is used by PageJinn to display the existing master pages in the GUI, as well as to read the size of the pages. You can modify both the local template file and the json file locally.
However, we recommend modifying the template within the K4 system. Next, click the Update Template button in PageJinn. This will rewrite the .indt and .json file
The structure of the json file looks like this:
{
	"pageWidth":209.999999999936,
	"pageHeight":296.999999999461,
	"templates":[
		{
			"PageJinn [P]":[
				"A-Travel",
				"B-Politics"]
		}
	]
}
PageWidth and pageHeight are used by PageJinn to calculate the page sizes (aspect ratio). The entries under PageJinn stand for the master pages of the template. When you plan an issue with PageJinn, you assign a master page to each page, which is used when creating the output. At the same time, PageJinn attempts a mapping from master page to section. For this purpose the name part after the hyphen is used. I.e. if the master page is “A-Travel” and a section “Travel” exists within the publication, the document will be created in this section. If such a section does not exist, PageJinn uses the first section of the publication as a default.
The template used by PageJinn must have only one page (with Pagina 1).
Note
Only one template is supported at the moment, and it must be named “PageJinn”.Pics
The Pics directory contains the png files for each page. The images are loaded by PageJinn via API from the K4 database. When the document is modified, locally generated page images are temporarily used. In double page mode, PageJinn downloads a HiRes version of the image and places it in an appropriate directory.
Templates
The templates directory contains the user-generated plans for issues to be created. These templates are also created in json format.
3 - Configuration
In addition to the actual software, a configuration file config.json is written to the PageJinn home directory (by default, the user’s Documents folder) during installation:
/Users/[username]/Documents/PageJinn/PAG/config.json
The configuration file contains default settings that affect the behavior of PageJinn. You will probably need to change some of the settings, such as the path to your K4 system and user and password, before PageJinn is ready for use.
You can change the configuration file by hand. However, all important and necessary settings for operation can also be made within PageJinn.
3.1 - Configure PageJinn
If PageJinn cannot connect to the K4 system because the access data is not stored in the configuration file or is invalid, the PageJinn settings area is automatically displayed.
You can also show the window at any time by clicking on the gear icon.
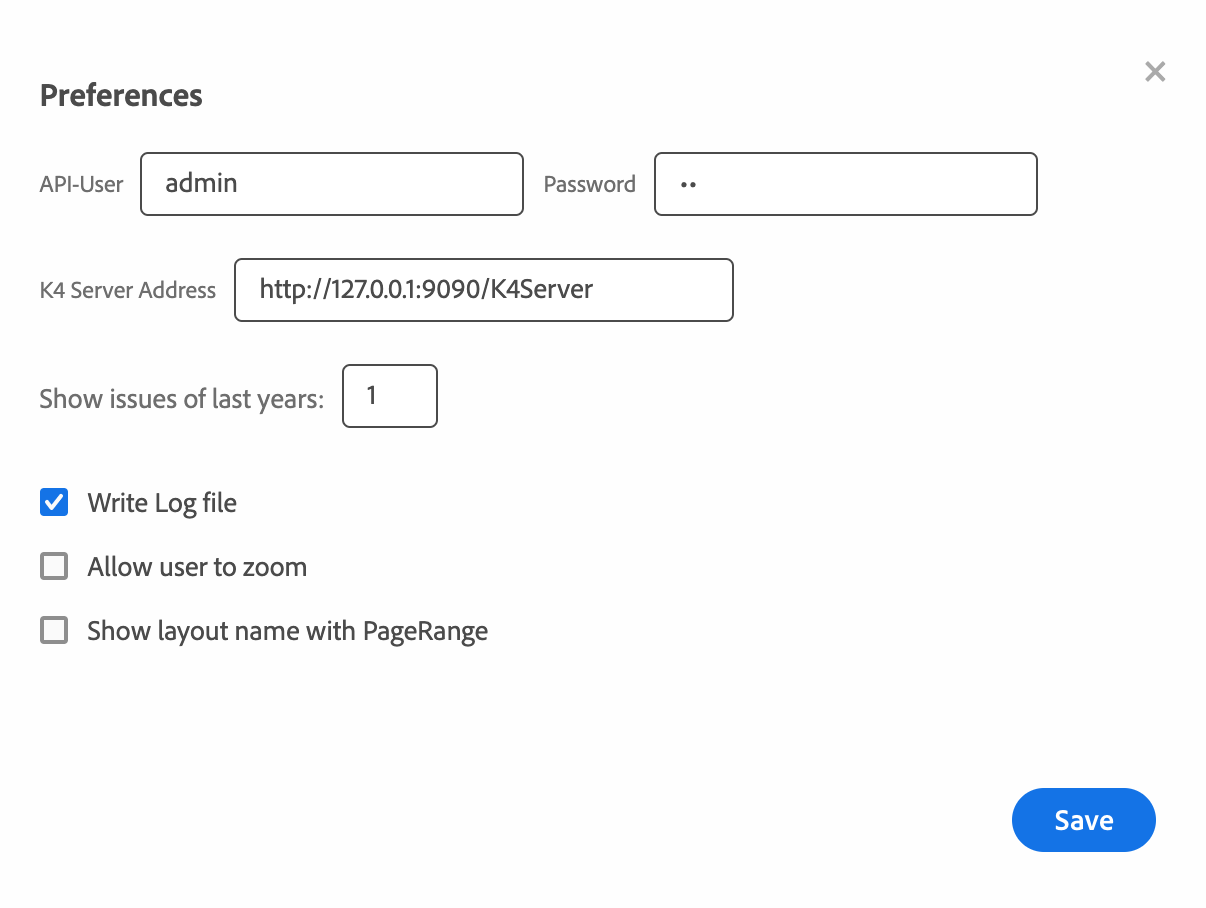
| Preference | Meaning | |
|---|---|---|
| API-User | A K4 user with Admin rights for all publications | |
| Password | Password of the API User | |
| K4 Server Address | The URL of the K4 System | |
| Show issues of last years: | Display issues of the last n years | |
| Write Log file | A log file will be written inside a folder PageJinnLogs within the home directory of PageJinn | |
| Allow user to zoom | If activated, it is possible to zoom in and out | |
| Show layout name with PageRange | Der Seitenbereich eines Layouts wird mit in den Namen des Dokuments geschrieben |
Make changes if necessary. If you click Save, the values are written to the configuration file and are permanently available, otherwise only for the current session.
3.2 - Template file
PageJinn requires access to an InDesign template file to display and create InDesign pages for each publication.
This template file (.indt) must be located locally in the PageJinn/PAJ directory. See directories).
However, you should keep this file in the K4 system. Check in an InDesign file as a template named PageJinn into the K4 template issue. This file should contain only one page and should contain a sample page for each section you use. Also make sure that there are no missing fonts in this document.
If PageJinn does not find a local .indt file at startup, it will try to download the PageJinn template file from the K4 system. From the information in the file (height, width, sample pages), an additional template.json file is created
Attention
If there is no local .indt file and there is none in the K4 system, the publications will not be displayed in PageJinn.If you subsequently change the K4 template file, for example to create new master pages, click Update Template in PageJinn afterwards.
3.3 - Configuration File
A configuration file is automatically created when PageJinn is installed. The entries necessary for functionality can be made via the GUI. If you change this file manually, consider the json format.
Tip
Load the config file with a browser like Firefox to be sure that no syntax error has crept in.Example of a Configuration File:
{
"PAGKEY":"U2FsdGVkX1854bQMq5zpFXrQkFabckQHKI/Z7Yv36fo=",
"DEBUG":true,
"APILog":true,
"hideAfterCheckout":false,
"advancedWorkFlow":true,
"LayoutNameWithPageRange":false,
"InDesign":"Adobe InDesign 2021",
"showLayoutNameInStatusBar":false,
"K4Version":"10",
"homeDir":"~/Documents/",
"bgColor":"#aabbcc",
"serverAddress":"http://127.0.0.1:9090/K4Server",
"apiuser":"PageJinn",
"apipw":"k4",
"apiremember":false,
"enableUserZoom":false,
"issueYearsToDisplayBeforeCurrent":"1",
"monthNames":["Januar","Februar","März","April","Mai","Juni","Juli","August","September","Oktober","November","Dezember"],
"dayNames":["Sonntag","Montag","Dienstag","Mittwoch","Donnerstag","Freitag","Sonnabend"],
"dueDateName":"Due Date",
"showDueDate":true,
"nameView":"name",
"NFR":false,
"1332490595545":
{"mdId":153,"mdType":2,"mdColor":"rgb(0,255,0)"}
}
| Config name | Meaning | Note |
|---|---|---|
| PAGKEY | The license key you receive when you buy PageJinn | |
| DEBUG | Set this to true to have PageJinn write a Log file | |
| APILog | Logging of the API functions | |
| hideAfterCheckout | Hides the PageJinn window after Check-Out of documents | not currently active |
| advancedWorkFlow | Is K4 Advanced Workflow for Layouts active? | |
| LayoutNameWithPageRange | The page range will be written into the Layout name | |
| InDesign | The used InDesign version | |
| showLayoutNameInStatusBar | Should the name of the Layout be displayed | |
| K4Version | The used K4 version | Only needed for API functions, all version starting from K4 10 are supported |
| homeDir | The folder with the PageJinn customer data including this config file | |
| bgColor | The background color of PageJinn | |
| serverAddress | The URL of the K4 System | |
| apiuser | A K4 user with Admin rights | This User must have access rights for all publications you want to manage with PageJinn |
| apiremember | The password for the apiuser | |
| enableUserZoom | Allow user to zoom in and out | We recommend to leave this set to false |
| issueYearsToDisplayBeforeCurrent | The number of years to go back from the current to display issues | |
| monthNames | The names of the months used in the header | currently deactivated |
| dayNames | The names of the week days used in the header | currently deactivated |
| dueDateName | The name for the dueDate | currently deactivated |
| nameView | This enty indicates which which information is displayed in the name field | set automatically by PageJinn |
| NFR | Is there a NFR key? | This will bring up additional functions. You need a valid NFR key to use this |
| 1332490595545 | K4 publikation Id | This entry will be written by PageJinn automatically. Do not change it! |
4 - Basics
4.1 - Interface
After starting PageJinn you see this window.
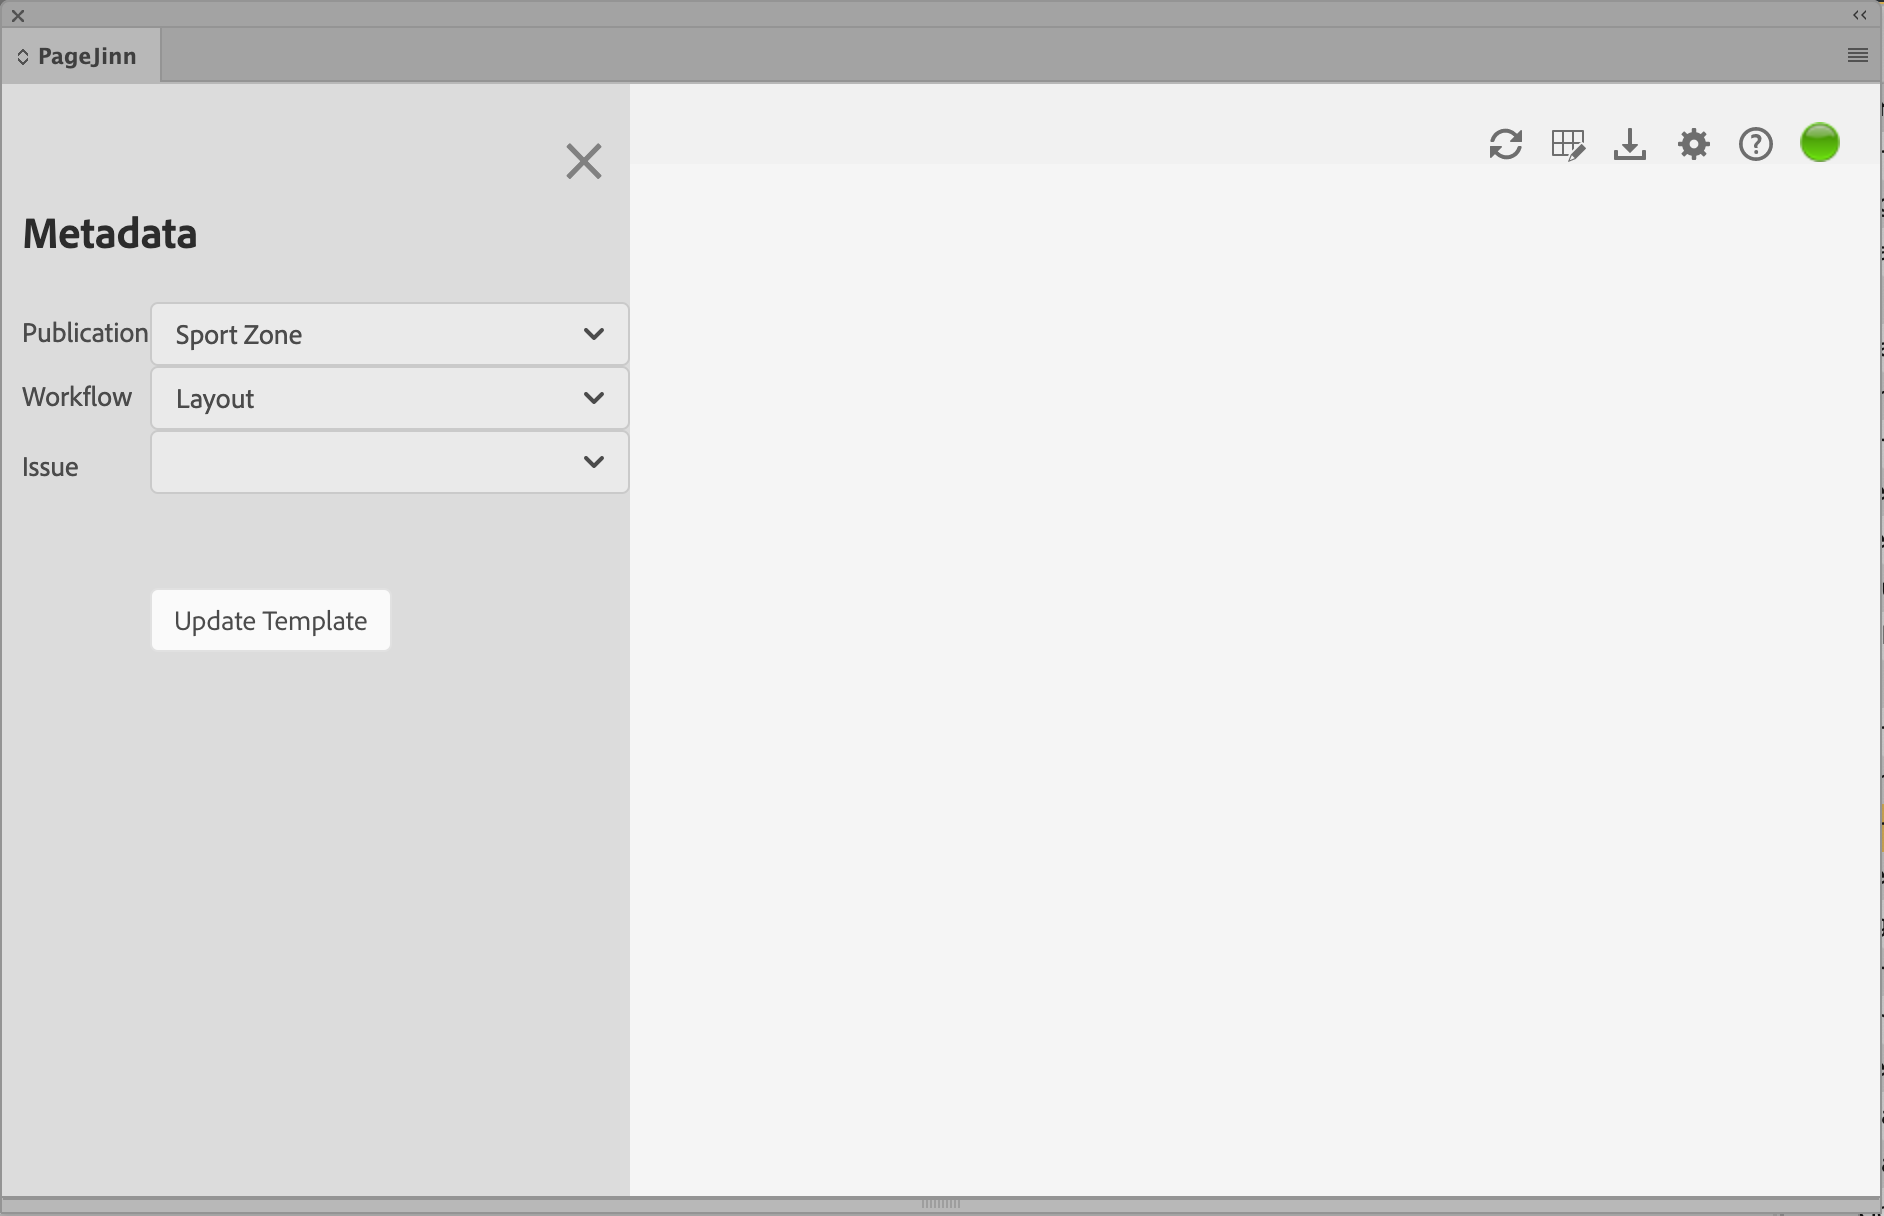
Metadata
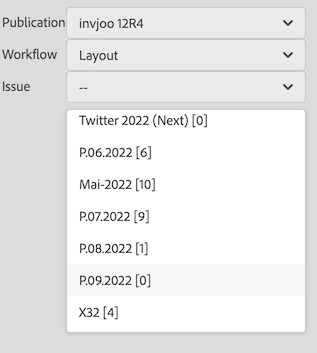
Under Metadata, select the K4 publication for which you want to edit or create issues.
Workflow contains the name for the K4 standard workflow for layouts Layout.
Select an issue here. The number in the square bracket indicates how many pages the issue contains.
If the Metadata area is hidden, it can be shown by clicking the hamburger menu icon.
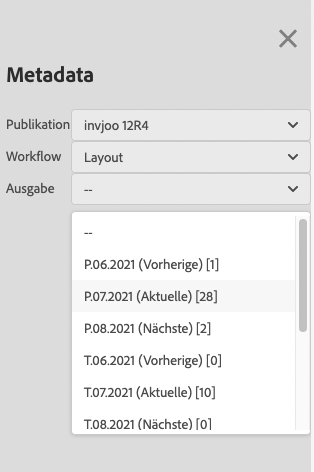
Update Template updates the .indt file in PageJinn’s master directory.
Icon Bar
![]() reloads the active issue.
reloads the active issue.
![]() shows and hides the edit bar.
shows and hides the edit bar.
![]() creates a PDF of the current issue and saves it to the download directory..
creates a PDF of the current issue and saves it to the download directory..
![]() shows and hides the preferences window.
shows and hides the preferences window.
![]() displays a window with short explanations and the keyboard shortcuts.
displays a window with short explanations and the keyboard shortcuts.
![]() shows the PageJinn status of the current issue. If it shows yellow, you should have the issue recalculated. If it shows red, you need to have the issue recalculated. (By clicking Execute in the edit bar).
shows the PageJinn status of the current issue. If it shows yellow, you should have the issue recalculated. If it shows red, you need to have the issue recalculated. (By clicking Execute in the edit bar).
Issues View
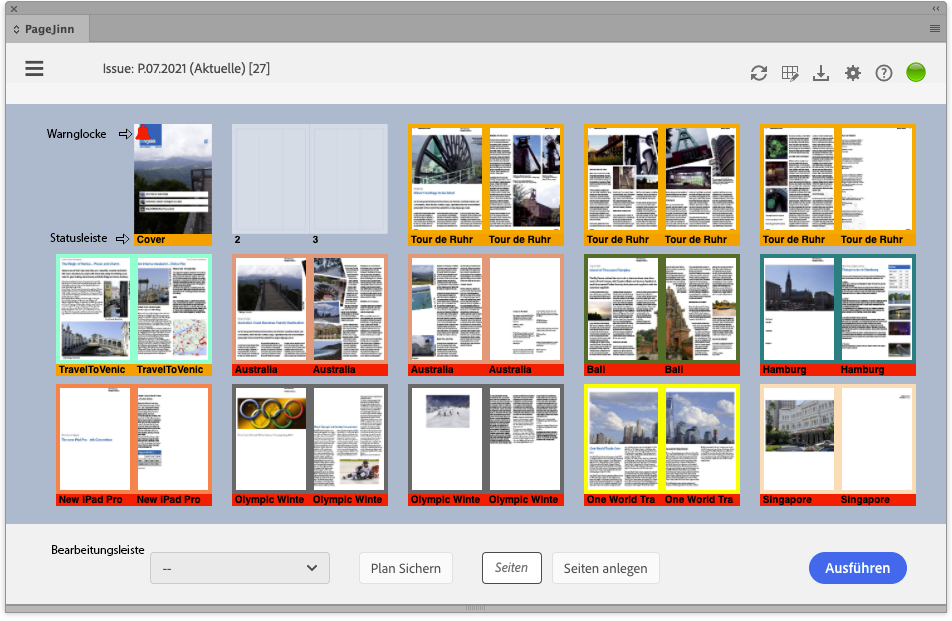
If you have selected an issue with existing documents, PageJinn displays the entire issue scaled into the existing window space. PageJinn bases its output on the highest page number found. If there is no page for an underlying page number in the issue documents, the page is represented by blank pages (pages 2 and 3 in the figure).
If a page exists more than once, this is indicated by the warning bell. Click the bell to show the other page(s) with this page number (in this case 1).
Status Bar
The status bar shows the K4 status color of the document in question. The status bar shows the name of the document, or the page number. You can toggle the view by pressing the n key.
The border color indicates that pages belong to the same layout. Single-page documents do not have a frame. Show and hide the frames with l key.
Edit Bar
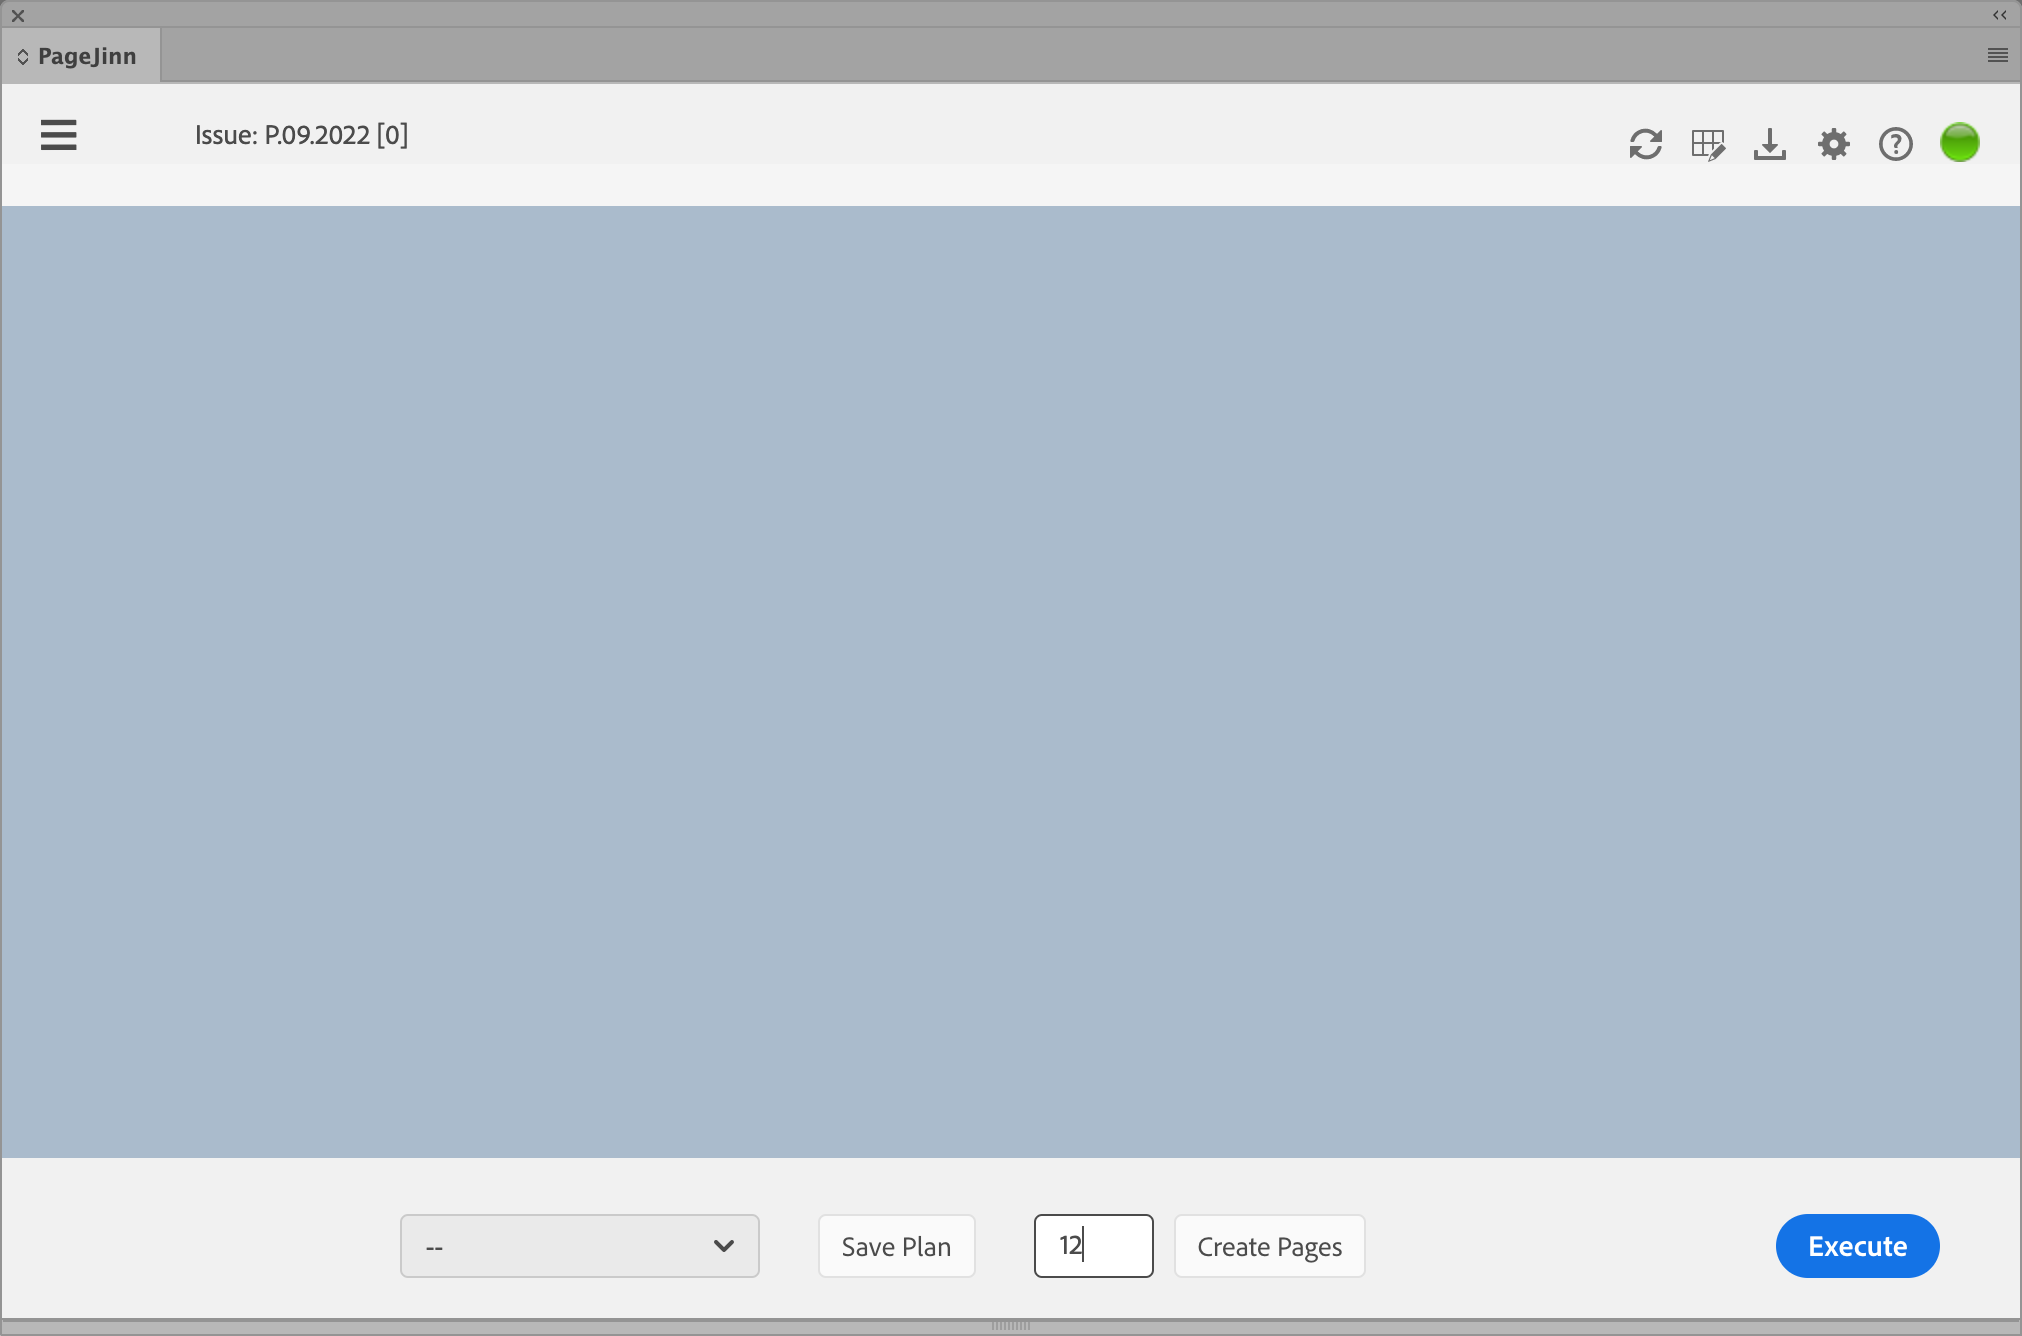
The edit bar contains a drop-down menu with the available issue plans, a button to save a new plan, as well as an input field, and a button to create new pages.
Views
PageJinn always displays the entire issue in the window at startup. If you enlarge or reduce the window, the display adjusts accordingly.
If Allow UserZoom is enabled in the preferences, you can also zoom in and out.

Reset (press the r key) to return to the default view.
Double page mode
Switch to double page mode by pressing the d key. The pages that are under the mouse pointer will make up the entire window - and are replaced by a high-resolution version of the page image.
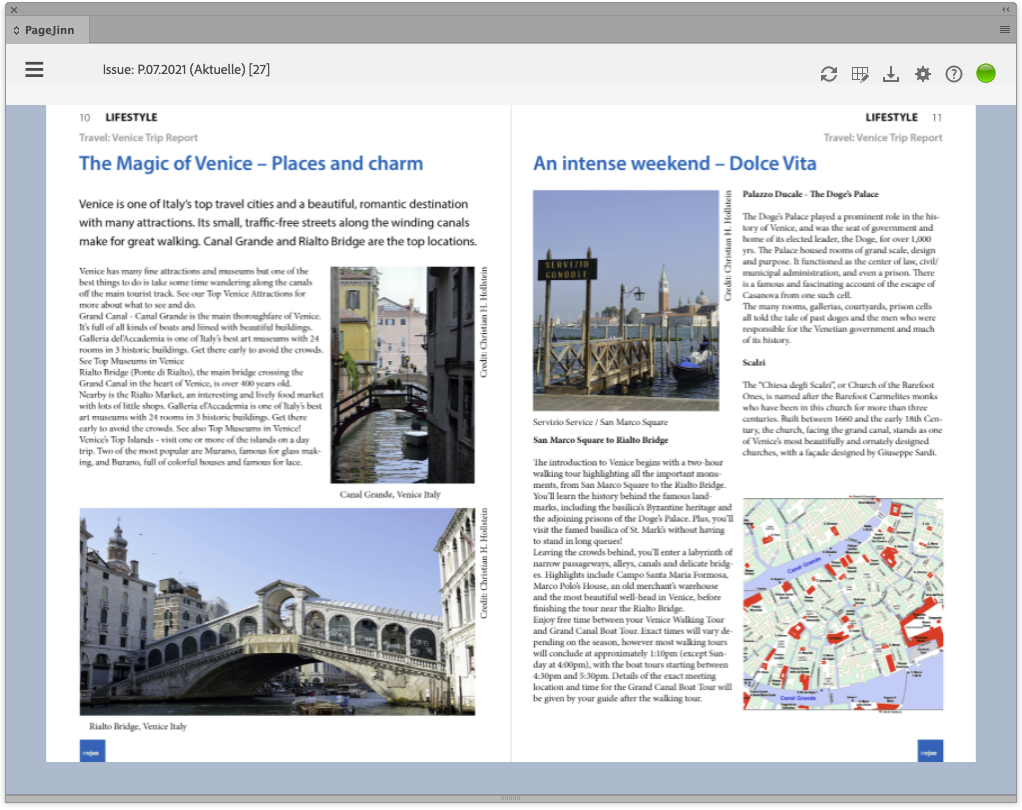
Navigate through the issue using the arrow keys.
Switch to the normal view by pressing the r key.
4.2 - Functions
We distinguish two phases when working with PageJinn. The editing phase and the planning phase.
Editing Phase
In the editing phase, you open an existing issue to get an overview of the production status. You can check out any document by double-clicking (alternatively, by checking it out in the context menu or keyboard shortcut a key) on a page and then editing it in InDesign. As long as the document is checked out, a green check mark will appear on the pages of the document. (If a document is checked out by someone else, you’ll see a red check mark). After check-in, the new page view is displayed.
Note
The page PNG is generated by the client. It will be replaced later by the K4 database version.If you are working in standard workflow mode (in the config file Advanced Workflow is set to false), then the status of a document can also be changed from PageJinn. Click with pressed mouse button on the status bar of a page of the document and select another status. The status is changed via the K4 API. This function is not available in Advanced Workflow.
Planning Phase
In the planning phase, you plan new issues, add new pages to an existing issue, delete or move pages. Every action you take in the planning phase results in the creation of new pages or a change in the page numbering of existing pages (for example, because pages are inserted).
PageJinn directly reflects the state after the action, for example, if you delete, the pages are taken out of view and the pagination in the status bar changes accordingly, but the pages of the document itself remain unchanged until you complete the planning phase and click Execute (alternatively x key for Execute).
When you Execute, the current planning state is passed to the InDesign client, and there the pages are created, inserted, deleted, moved. When the action is complete, the newly created, or modified, issue is displayed in PageJinn. The pagination of the status bar and the actual pagination of the page are synchronized, and the PageJinn status in the icon bar is green again.
4.3 - Planning
With PageJinn you can schedule and create K4 issues, add, swap, move and delete pages and page ranges.
4.3.1 - New Issue
Planning the Issue
Planning and creating a new issue is the core function of PageJinn.
Note
PageJinn creates documents within a K4 issue. The creation of the K4 issue must be done in the admin of K4.Select an empty issue under Metadata (there is a 0 indicating the number of pages in the square brackets).
Specify how many pages the issue should contain and click on Create Pages.
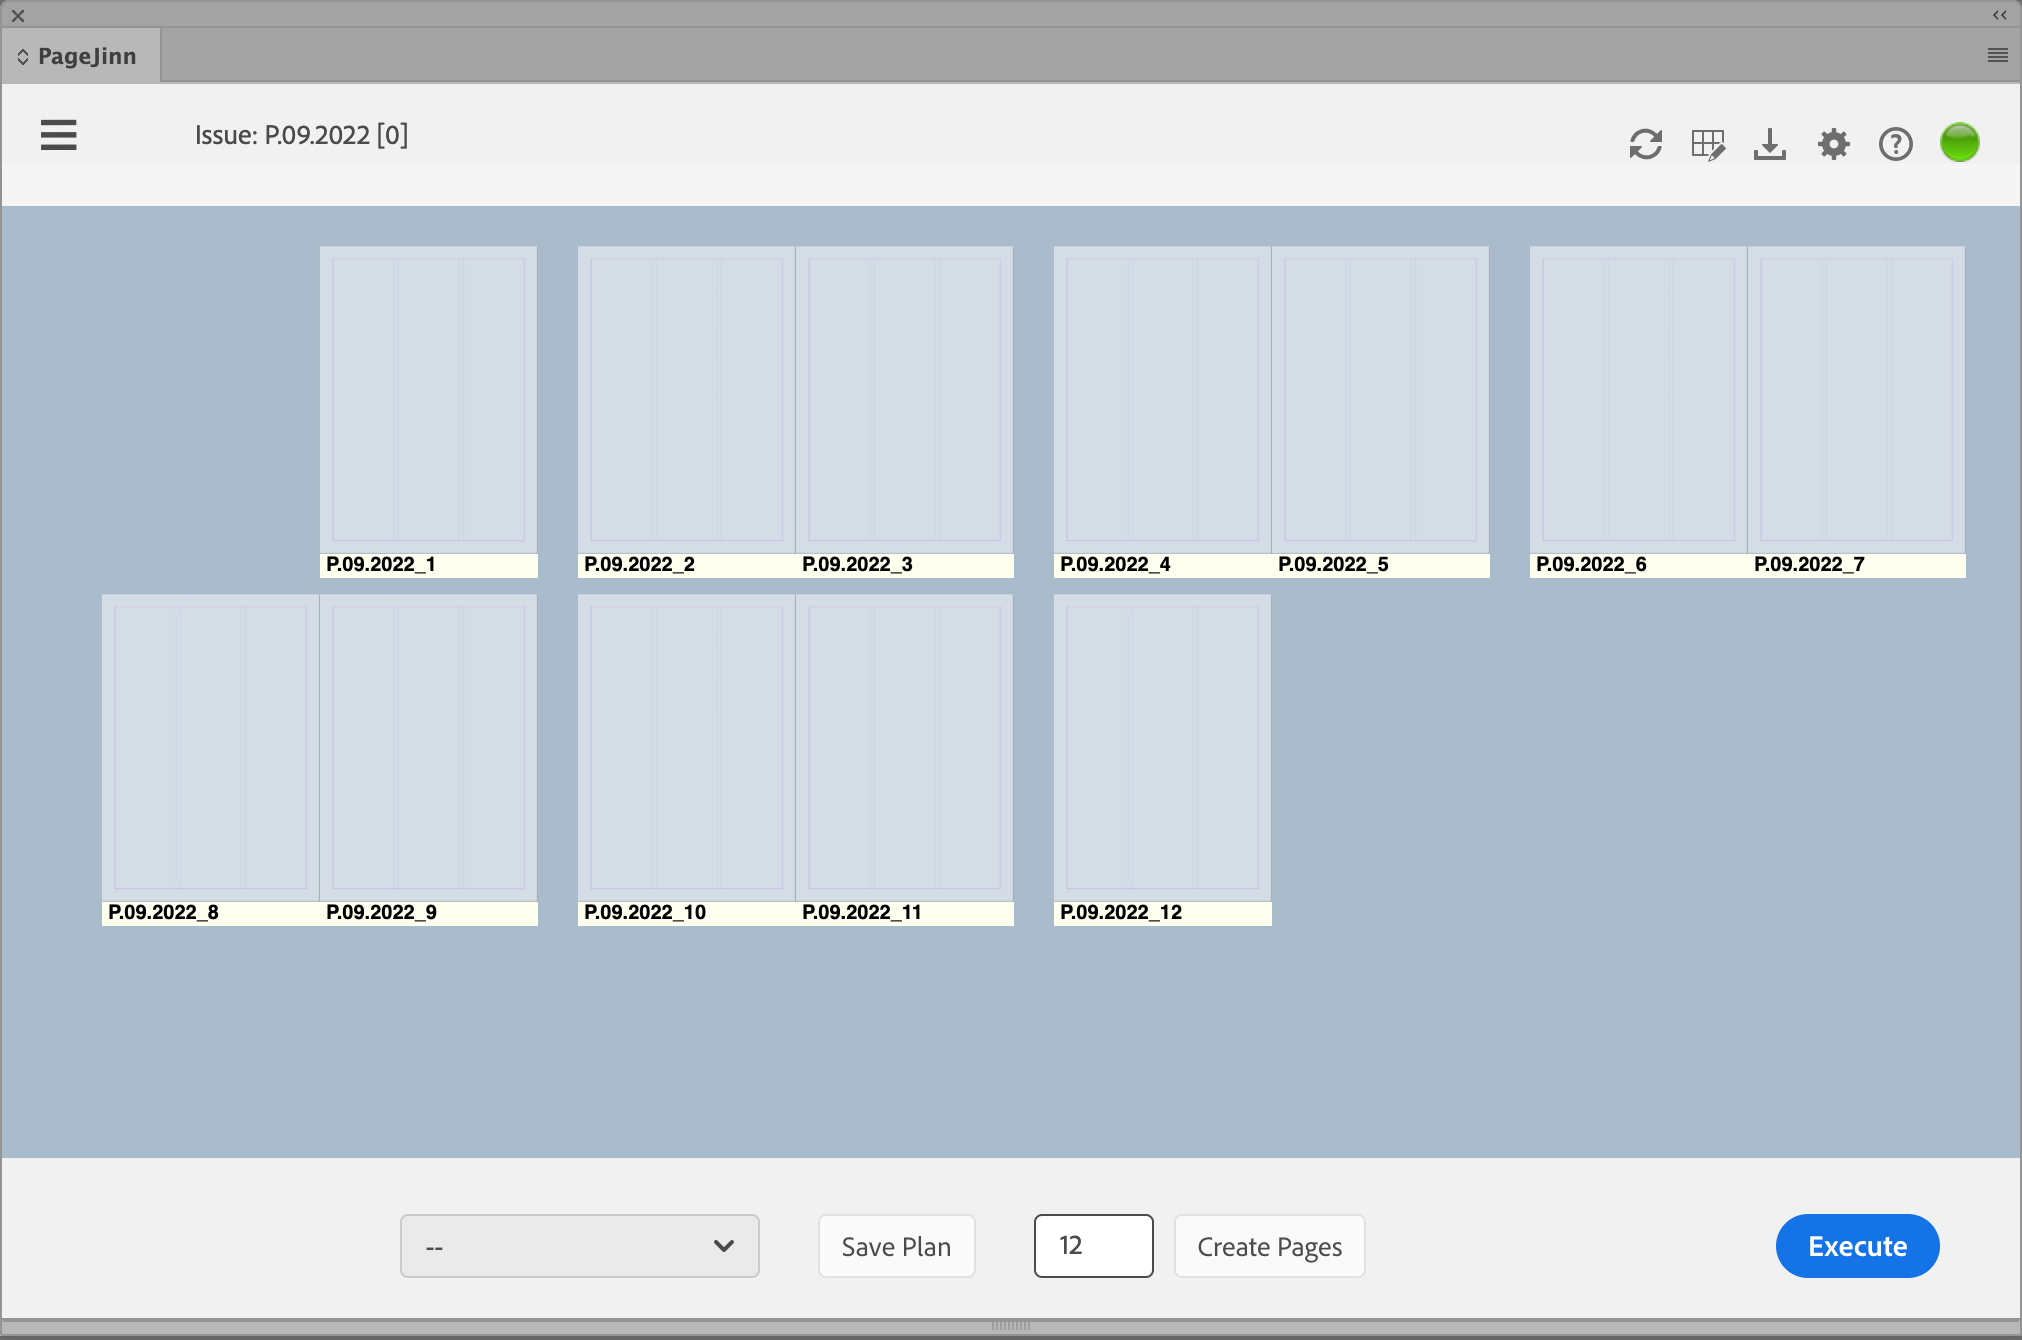
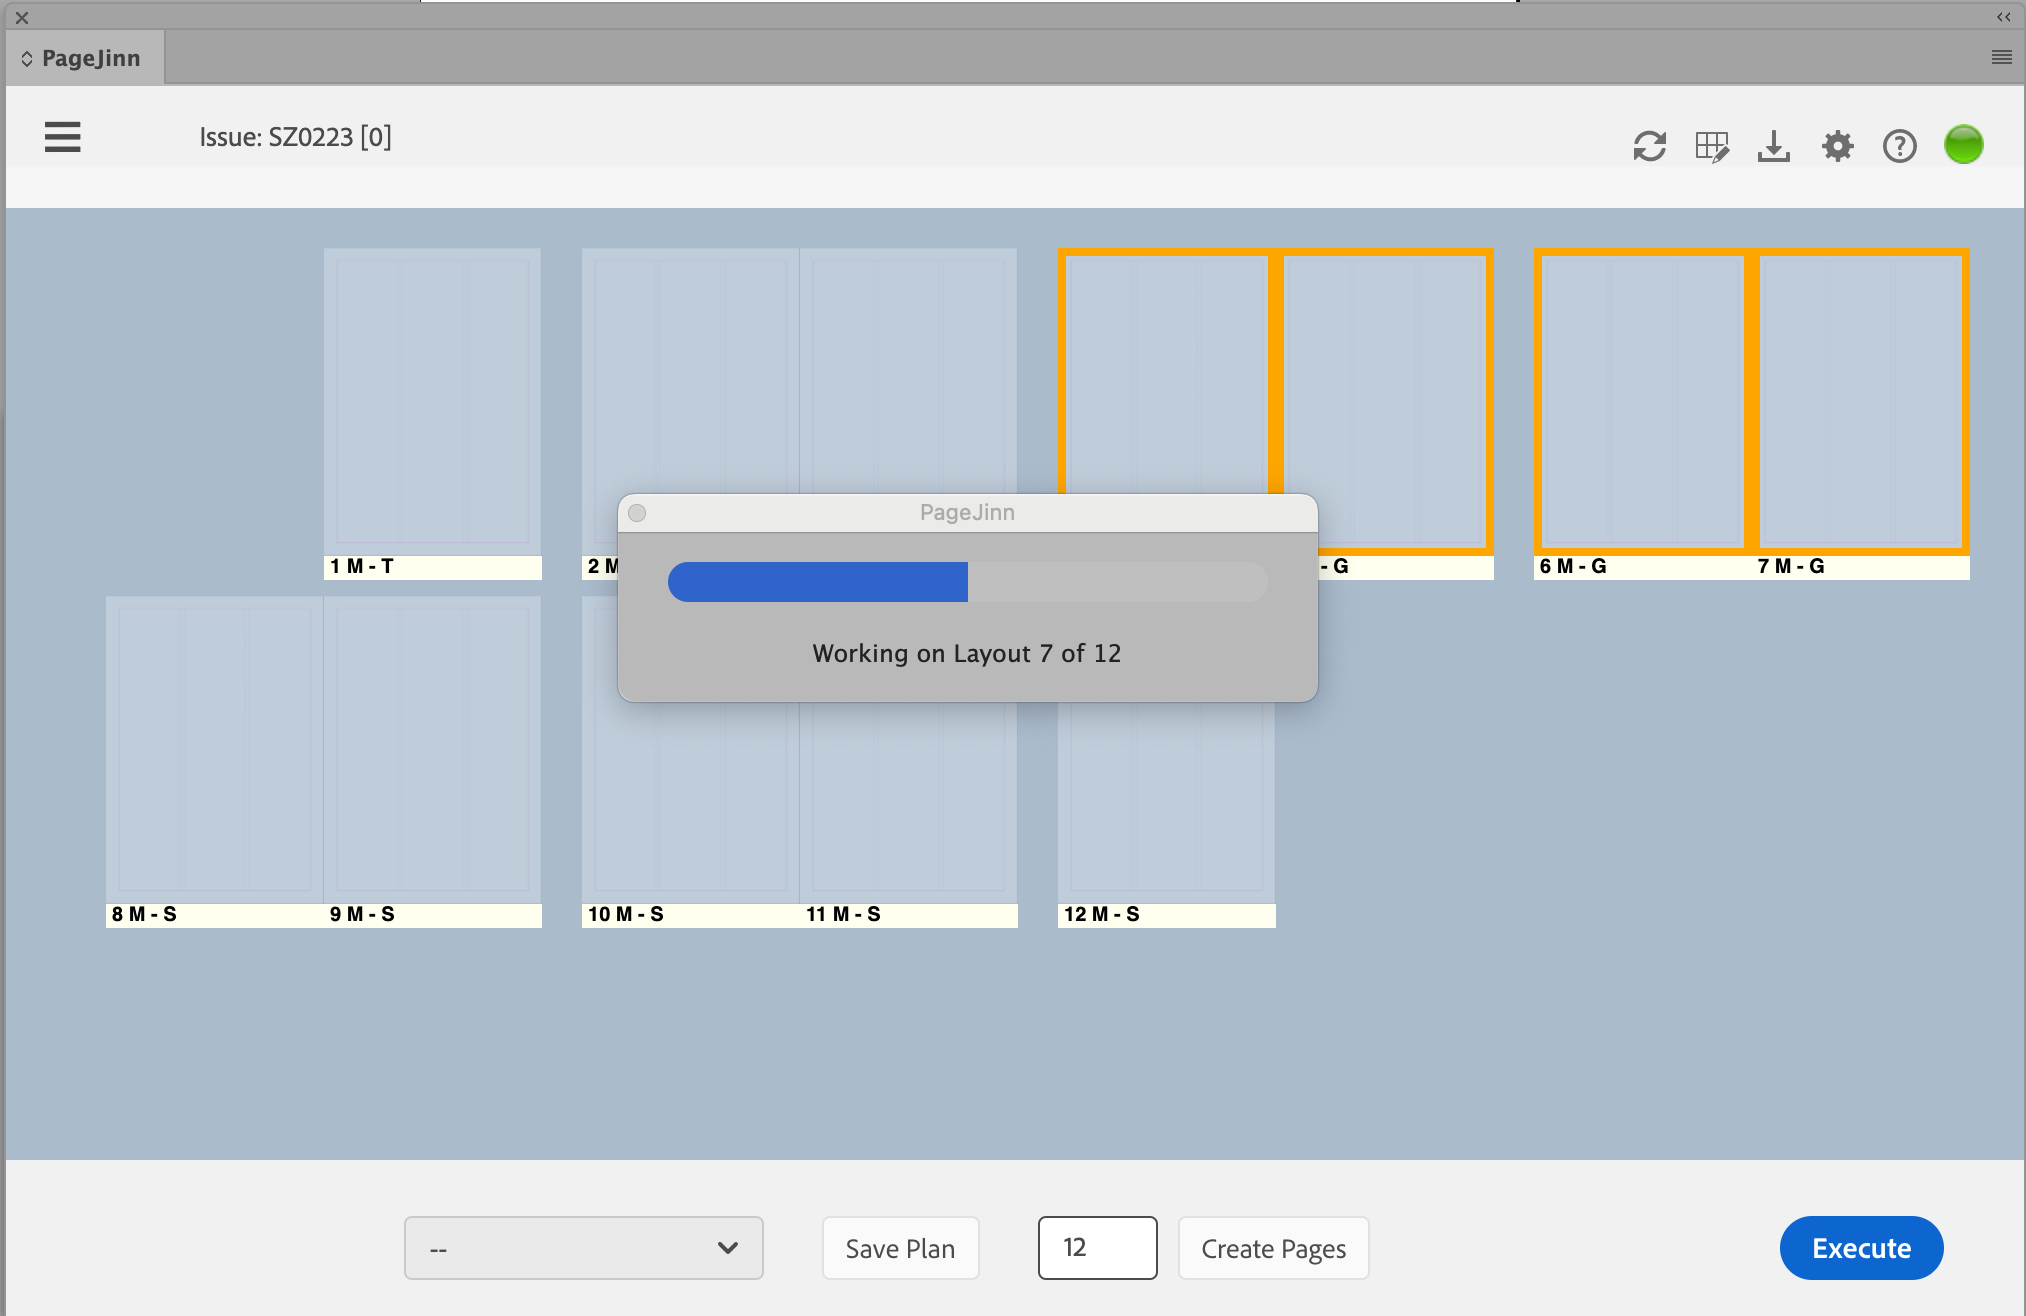
PageJinn creates the pages. Each page is given a generic name consisting of the name of the issue and a continuous page number.
Now select a master page for each page or a selected page range from the context menu. You can select a page range, as usual, by clicking on it with the Shift or Command key pressed. Selected pages are displayed with a blue frame.
Note
Only contiguous pages can form a page range.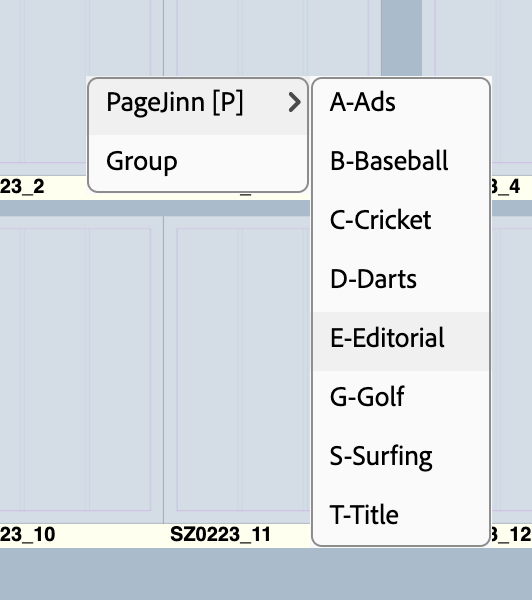
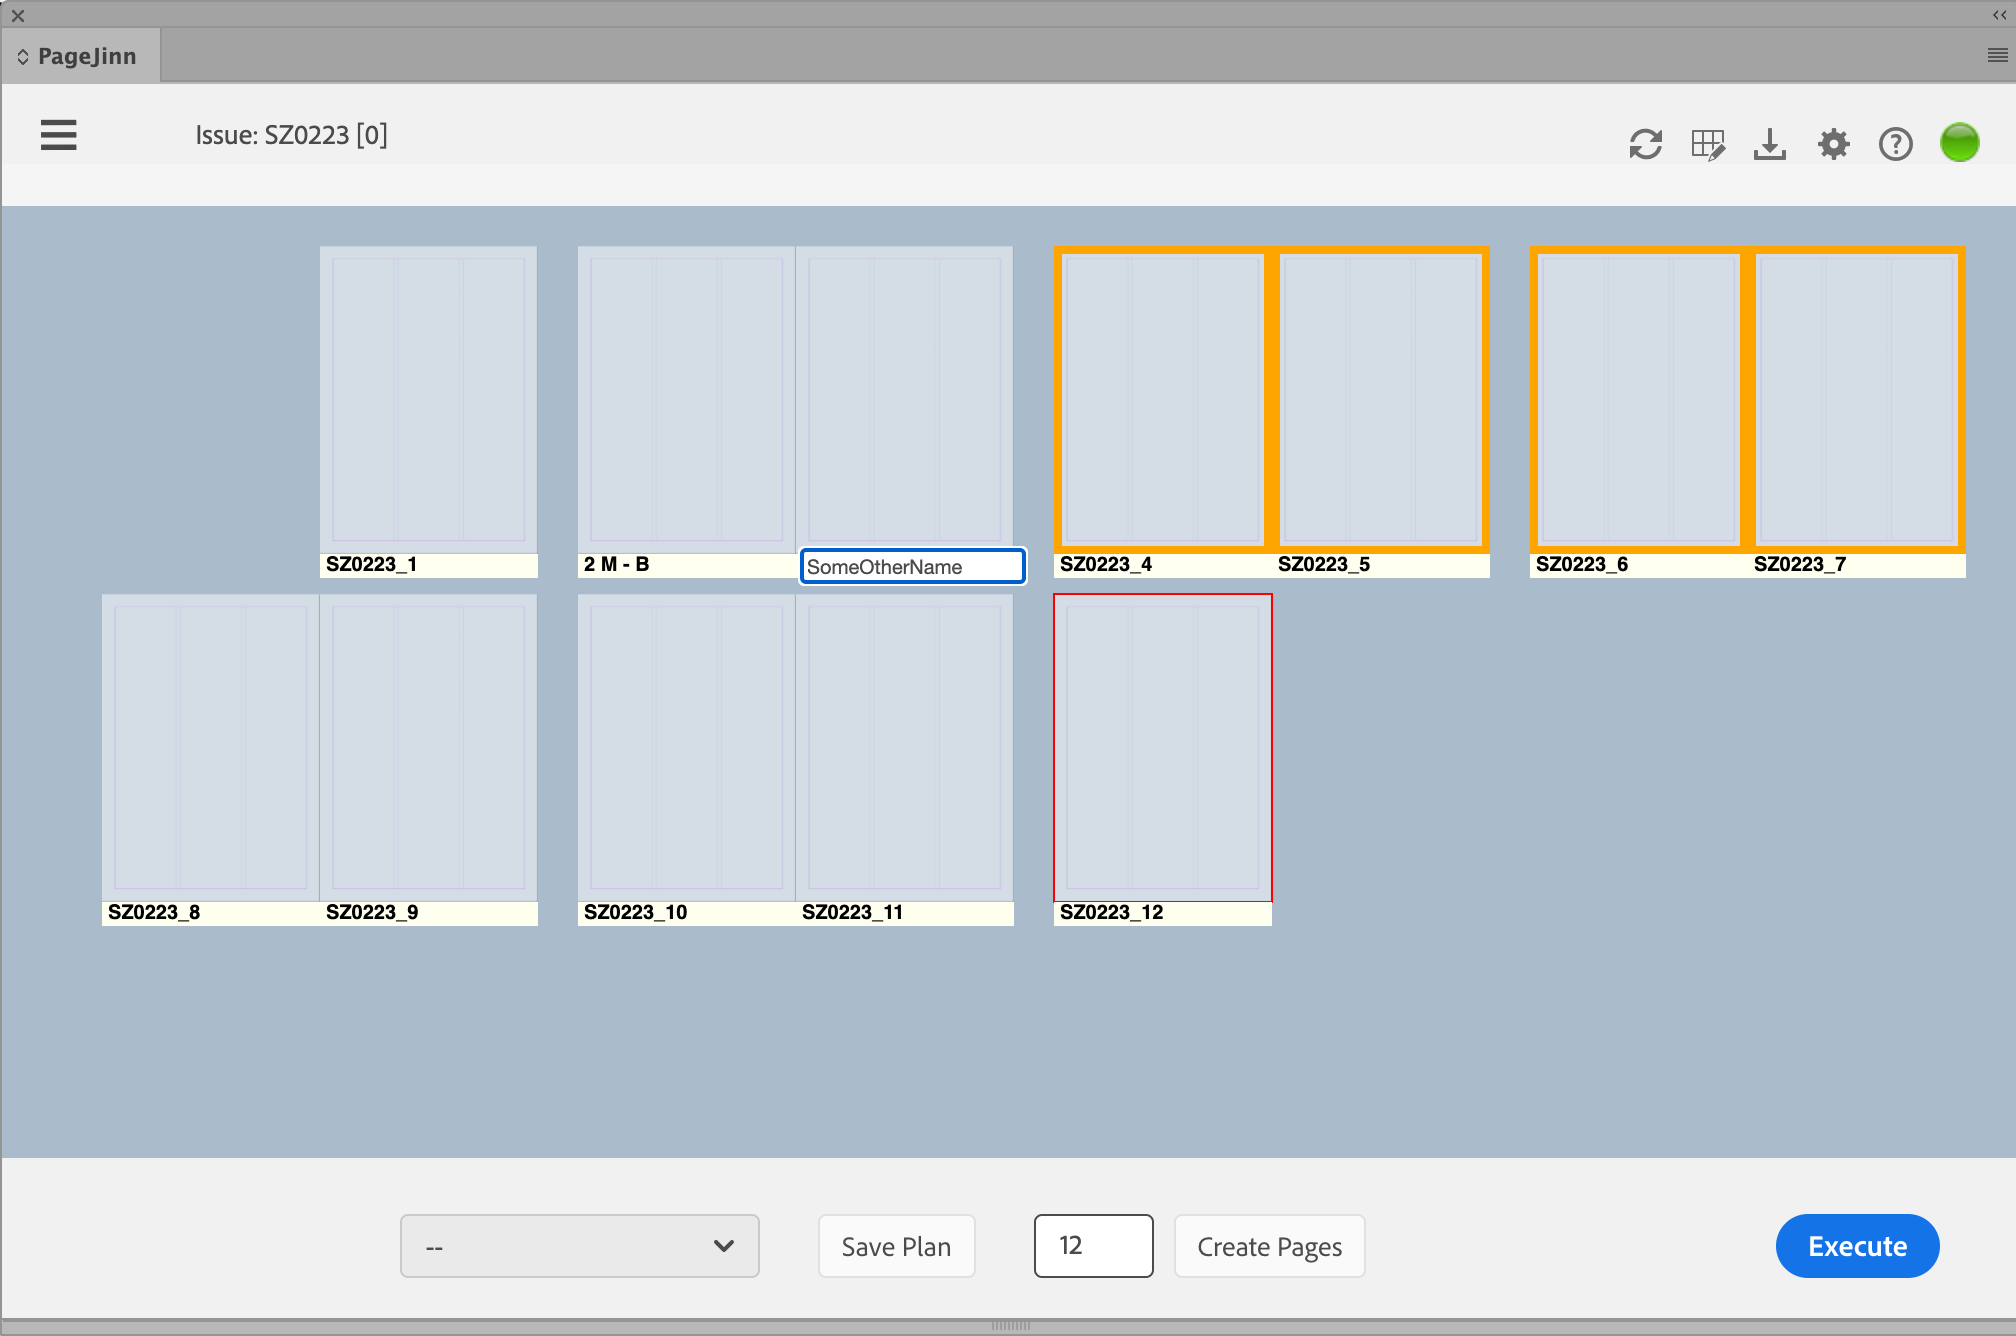
To define a page range that will become one document, choose Group in the context menu (alternatively g Key).
Grouped pages get a colored frame (can be shown and hidden with l key). The status bar shows the page number and the abbreviation for the selected master page.

You can assign your own name to individual pages or page ranges. Switch to the name view with n key and move the mouse over the name. Now enter your own name for the page or page range.
Saving the Plan
To shorten the steps of planning, it is possible to save the plan as it exists now, that is before executing it. Click on Save plan.
Enter a name for your plan in the dialog. This plan will be available in the selection menu during the next planning. Instead of planning new pages, you then call up the plan and modify the assigned master pages if necessary.
Note
Do not change the disk space, because PageJinn reads the template plans stored here at startup.Creating the Issue
Click on Execute to start the process of generating the issue.
4.3.2 - Insert Pages
Creating pages
PageJinn allows you to create new pages in two different ways.
You can create pages within an existing document by selecting Insert Pages from the context menu. Or, you can create a new document with the new pages within the K4 issue. In this case, choose Add Pages from the context menu.
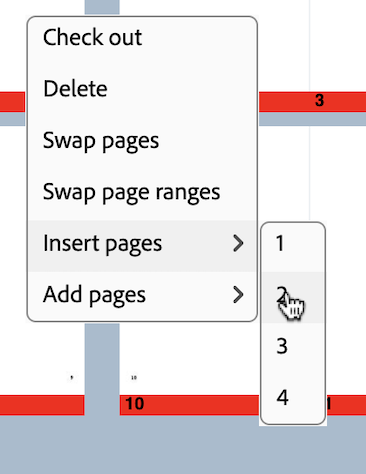
Select the number of pages to insert/add, either from the context submenu (1-4 pages) or from a pop-up dialog that allows you to create as many pages as you want.
Insert pages
When you insert pages, PageJinn displays the new pages with the status of the parent document.
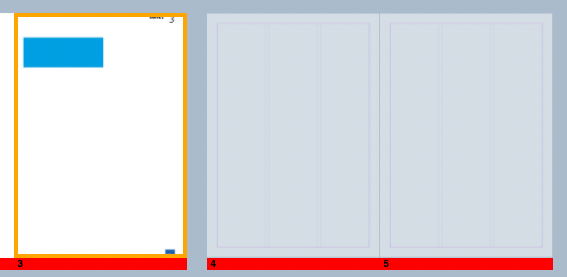
Click Execute, and PageJinn creates the desired number of new pages in the selected document after the selected page. All following documents get the new correct pagination and are renamed if necessary (if LayoutNameWithPageRange is active).
Note
Before performing any action, make sure that all documents in the issue are checked in, since PageJinn must be able to check them out in order to change the pagination.Add pages
When you add pages, the new pages do not yet have a status color in PageJinn. The pages are given a generic name, and they are assigned the first available master page by default.
You can now specify other master pages via the context menu, and group and rename the pages if necessary.
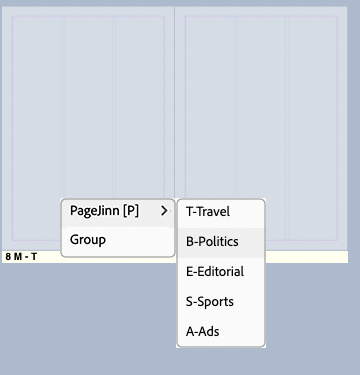
To rename the pages, click the name in the status bar. The status bar must display the name for this. If the sample page is displayed instead, change the name view with n key. If the pages are grouped, you only need to change the name of the first page.
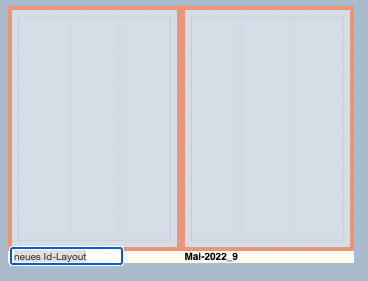
Note
Adding pages is only possible at the end of a page section. If you try to create pages within the page range, a corresponding error message appears.4.3.3 - Swap Pages
Swapping pages
Select the first of the pages you want to swap (the page gets a blue selection frame) hover over the second page and select and select Swap pages in the context menu. (Alternative: t key).
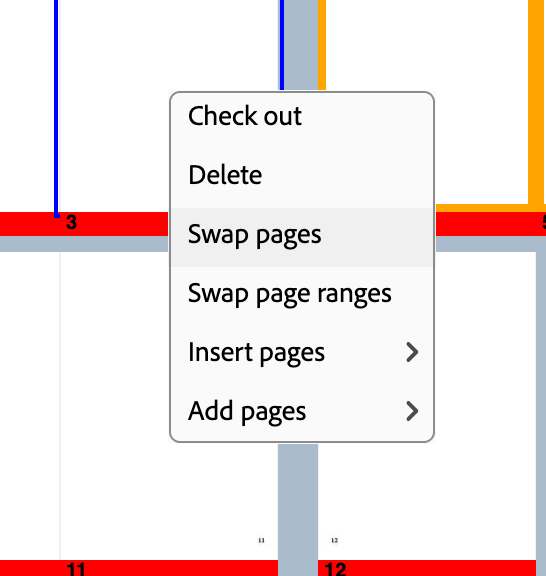
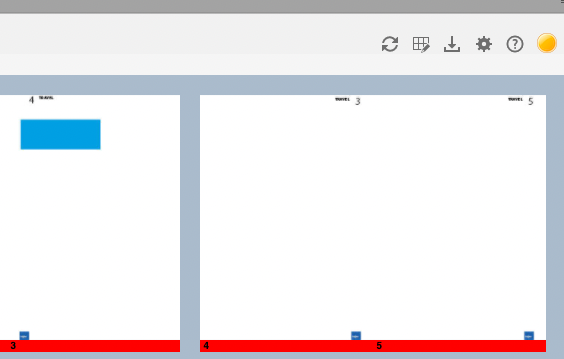
PageJinn will now change the preview imgages of the pages. The status changes to the orange circle to indicate that an action is pending but that has not yet been executed.
You may swap additional pages or you may now click on Execute (alternative: x key) to actually swap the pages in the InDesign-Document.
Note
If the Execute button is not visible, hit the e key.Note
If you have accidentally swapped pages you may return to the last saved version by clicking on the Refresh buttonAfter PageJinn has performed the swapping the preview is in sync with the document. You will see that the pagina in the preview has changed and the status indicator is green again.
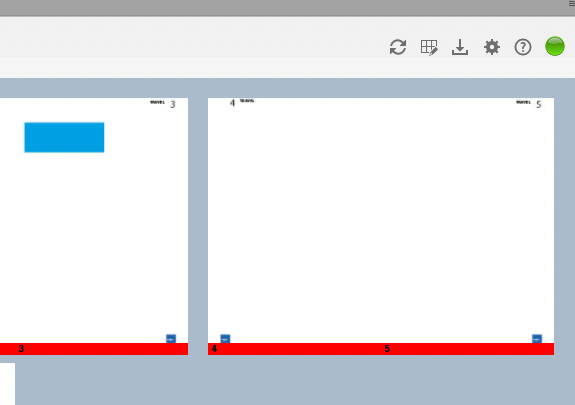
Swapping page ranges
It is also possible to swap several pages. To do this, select the first side of a range and choose Swap page ranges in the context menu of the first page of the second page range.
Note
You can only swap page ranges with the same number of pages.4.3.4 - Moving Pages
Moving pages
You can move pages and page ranges by Drag&Drop to a different position in the issue.
Select the first page by holding down the option key and drag it. The page gets a yellow frame while dragging. Any page that is dragged over will have a pink frame. When you release the mouse, the page is inserted to the right of this pink reference page.
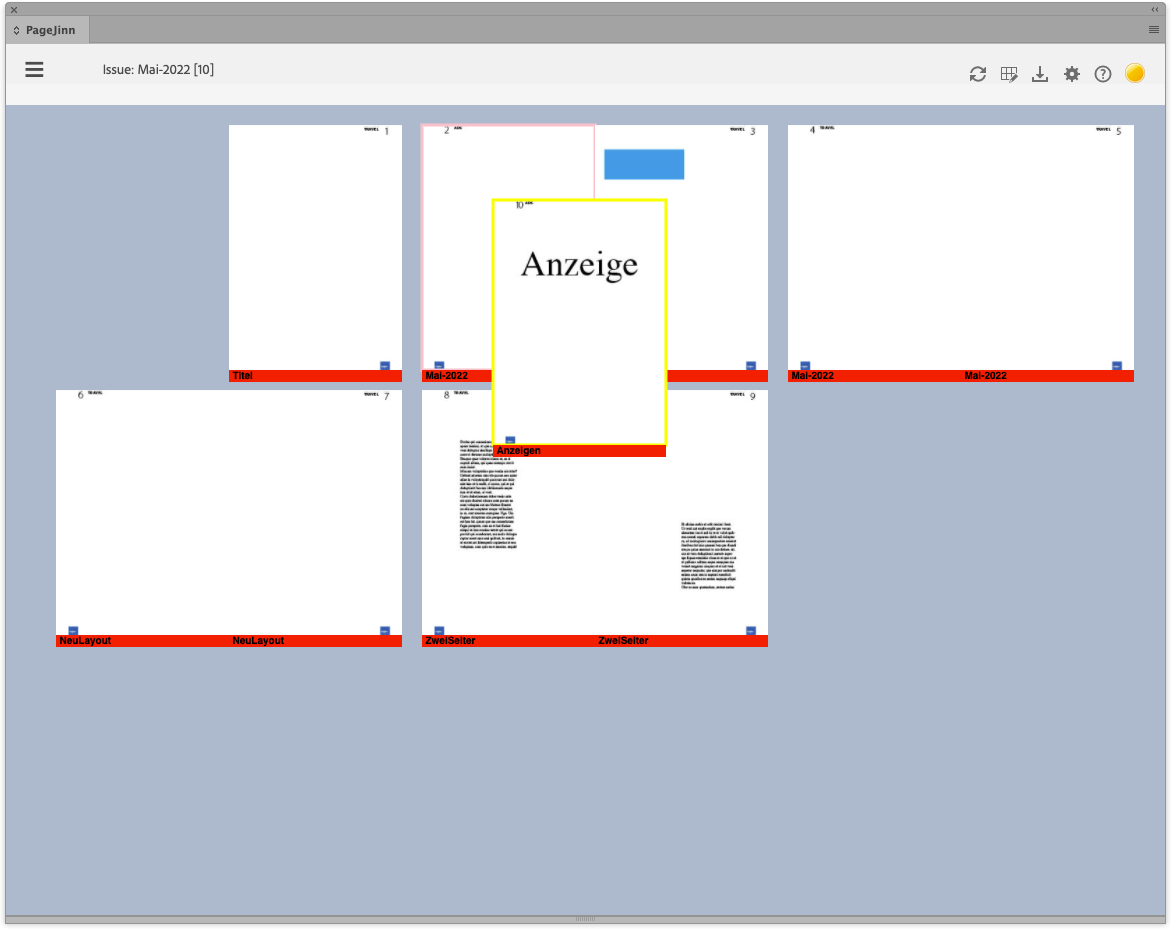
Note
Moving pages within a range of pages is not currently supported.Moving Page ranges
You can also move page ranges.
Hold down the option key and the shift key while dragging the first page of a page range.
Note
Only when you release the mouse all pages belonging to the range are actually moved to the new position.As with all actions, moving does not make changes to the document until you click Execute.
4.3.5 - Delete Pages
Deleting pages
PageJinn allows you to delete pages. To do this, select the pages and choose Delete from the context menu.
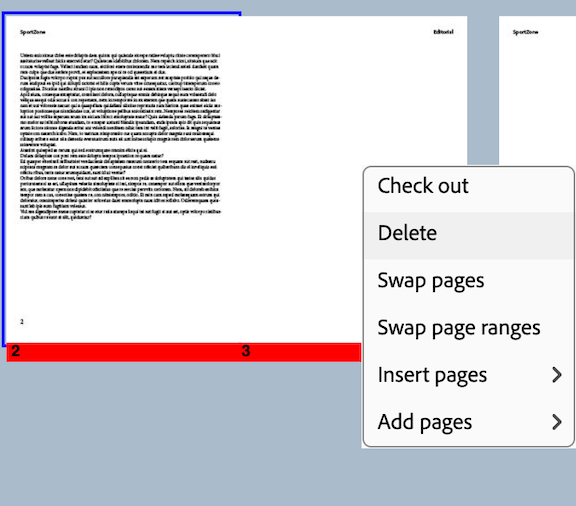
A warning message appears that this action cannot be undone.
Note
The warning message refers to the state after executing the action. As long as you do not Execute, you can restore the previous state by Reload.If you delete all pages of a document, this document will be moved to the K4 trash issue.
Attention
If you delete pages within a document, the pages are deleted permanently.5 - FAQ
No questions so far.